No.5
[Fundamentals]
Understanding the shared fundamentals between photography and 3D motion design
Photography
[Real Cameras, Real Lights, Real Action]
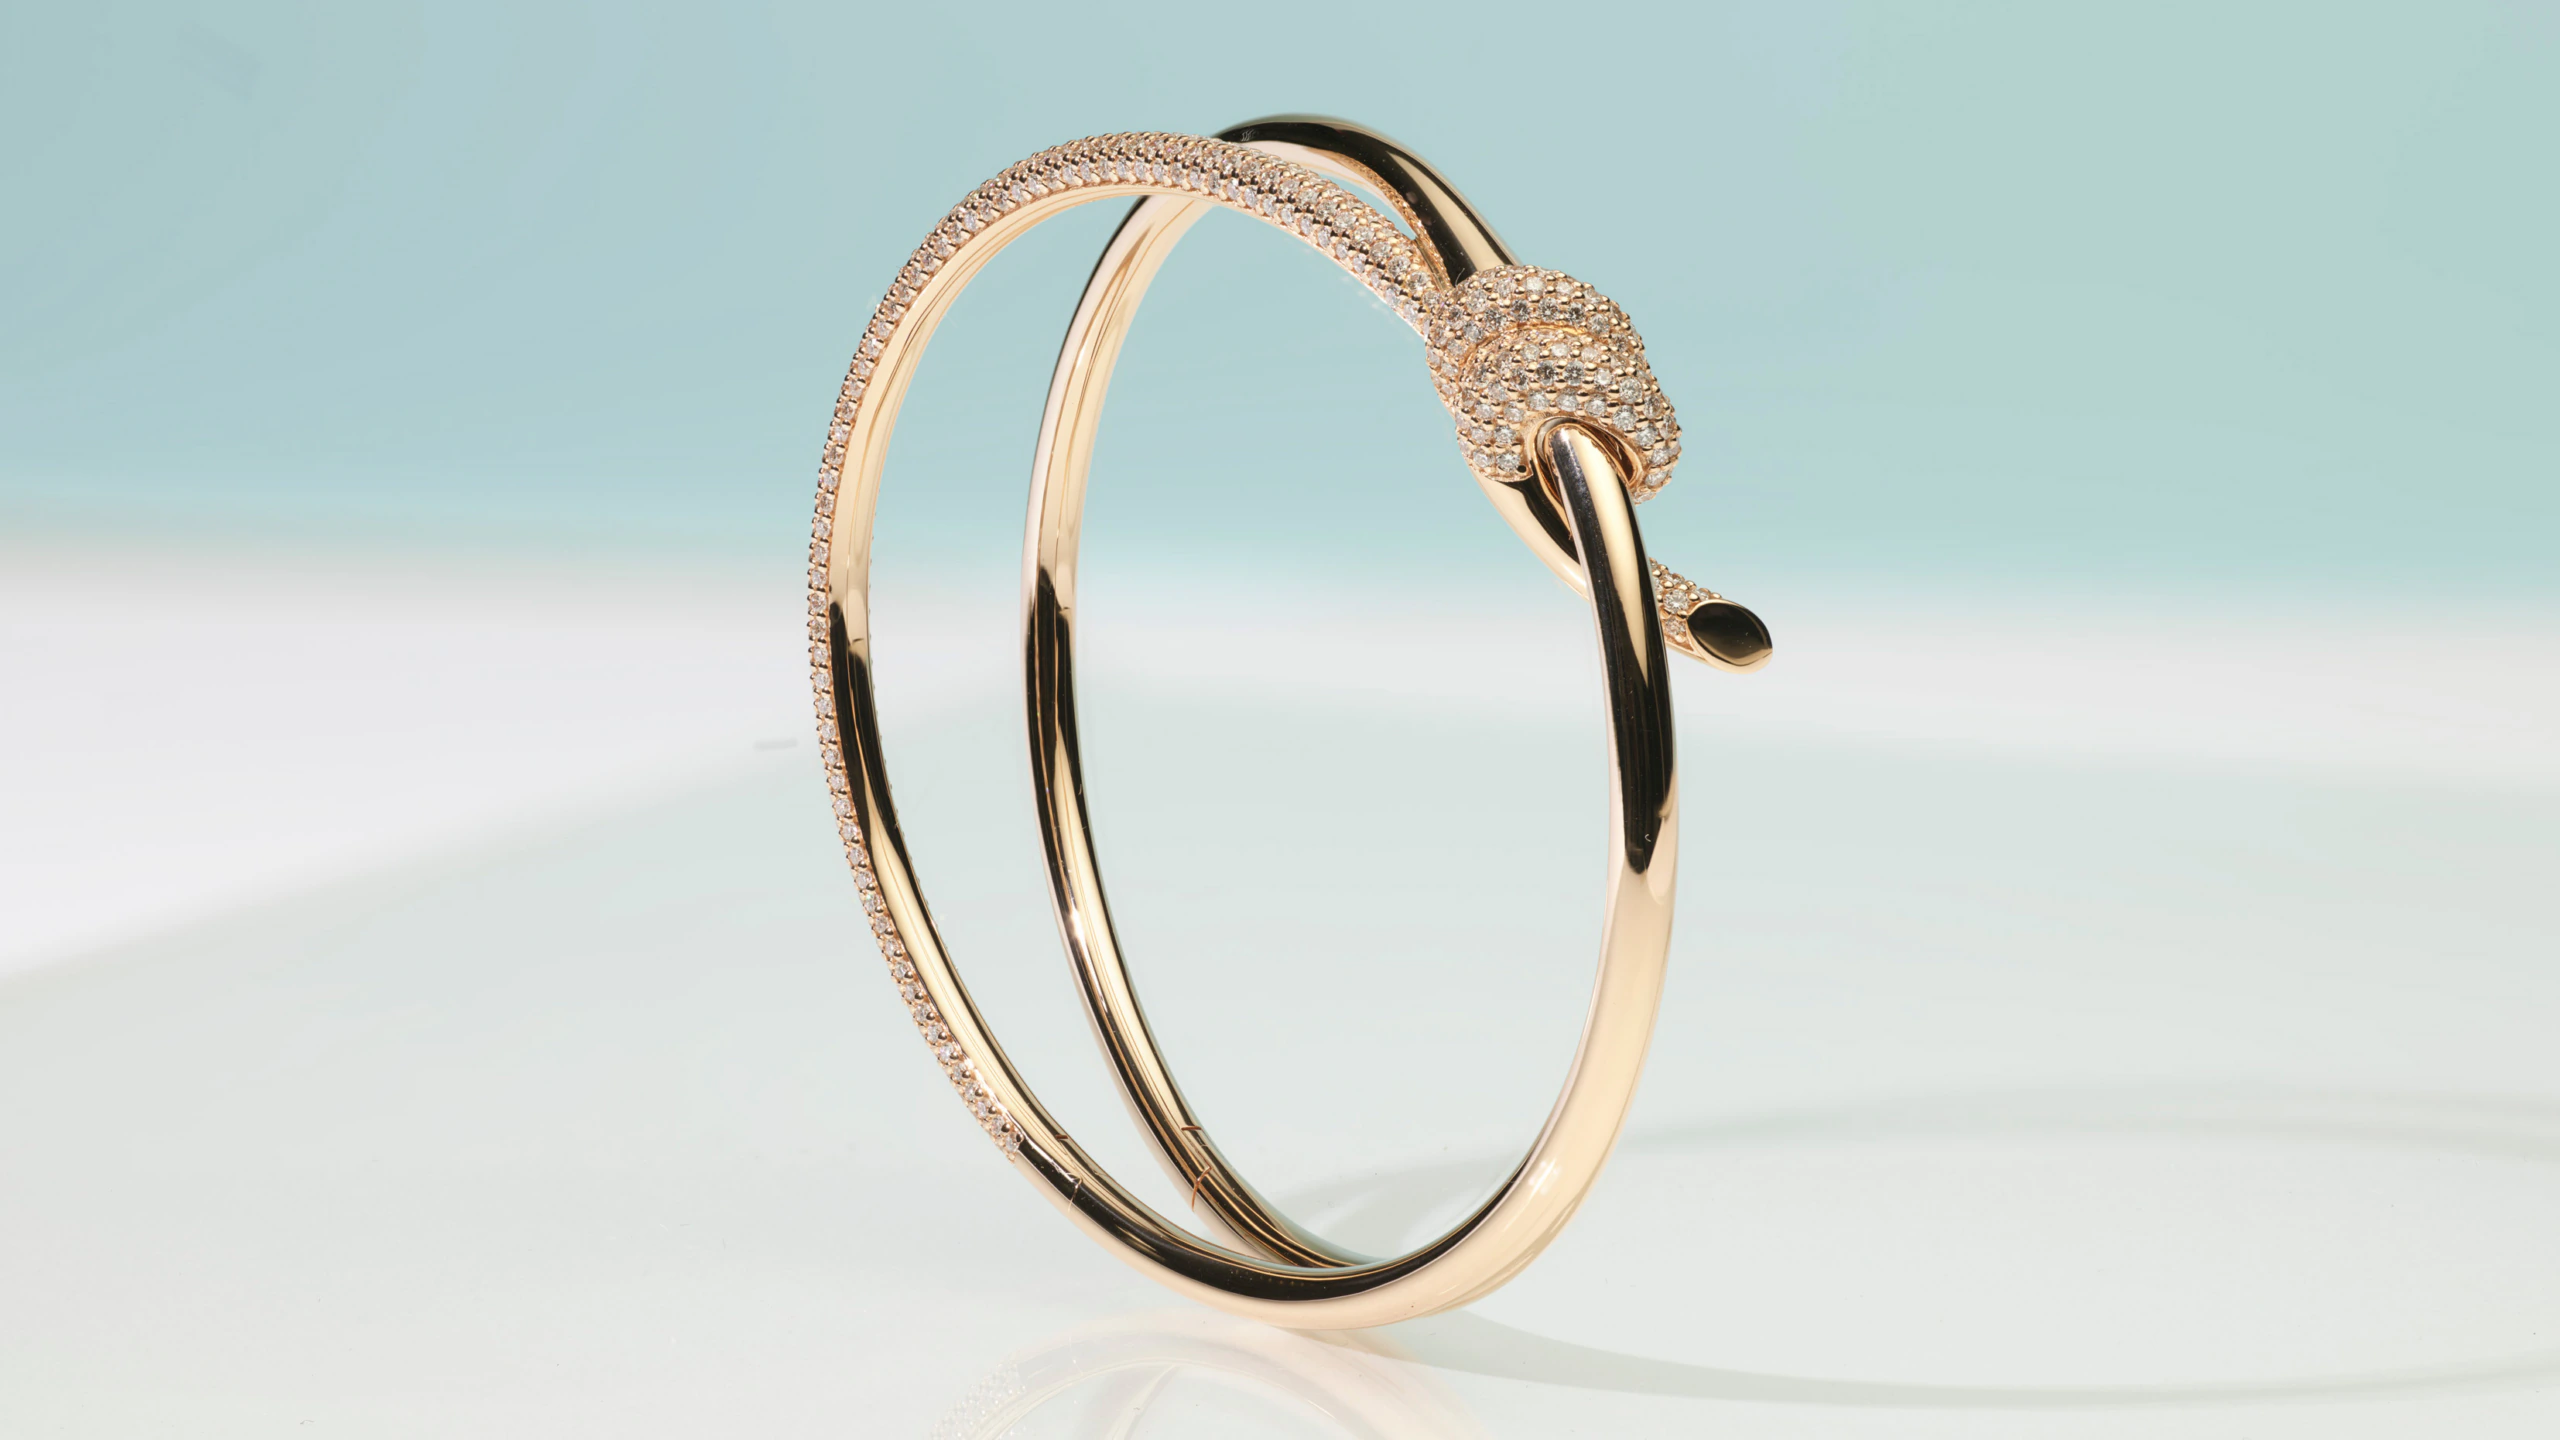
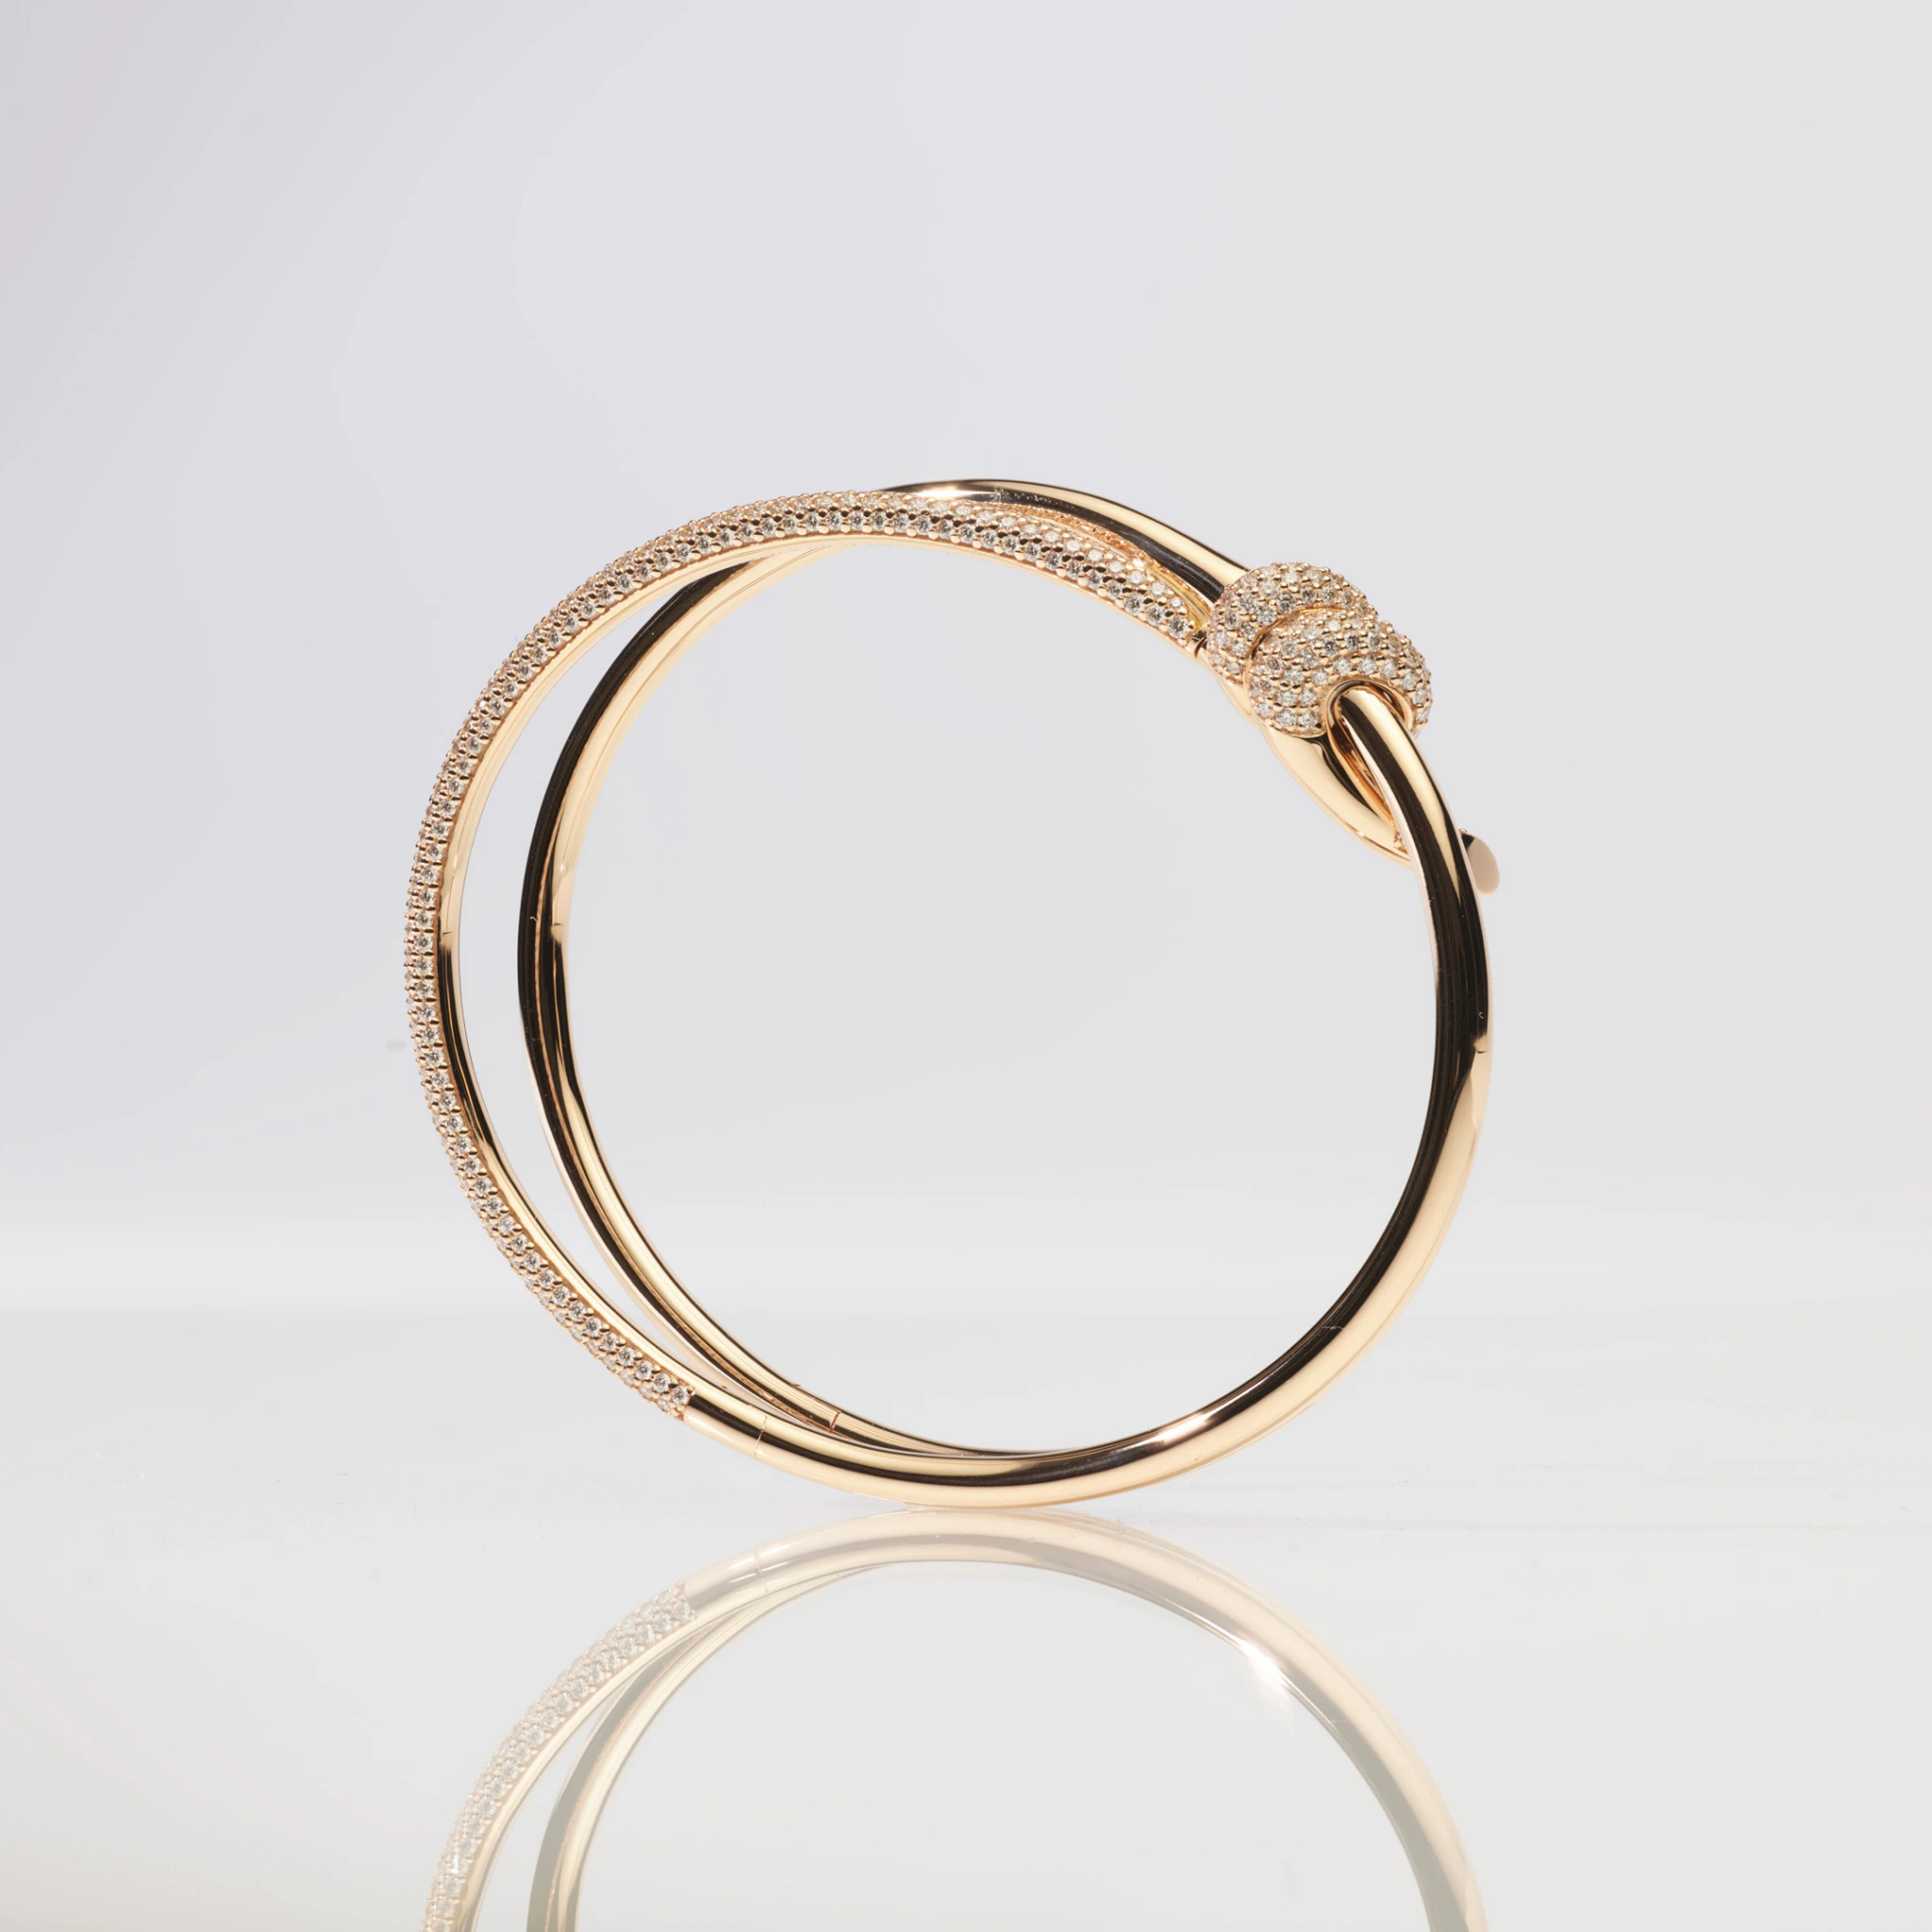
Our collaboration began in Marius’ studio, surrounded by photographic equipment and Tiffany jewellery. Being in the room together was vital. We watched Marius’s expertise in action as he captured the intricate details, light and materiality of the pieces. These uncompromising, high-fidelity images served as the reference points for our 3D workflow, ensuring absolute authenticity.
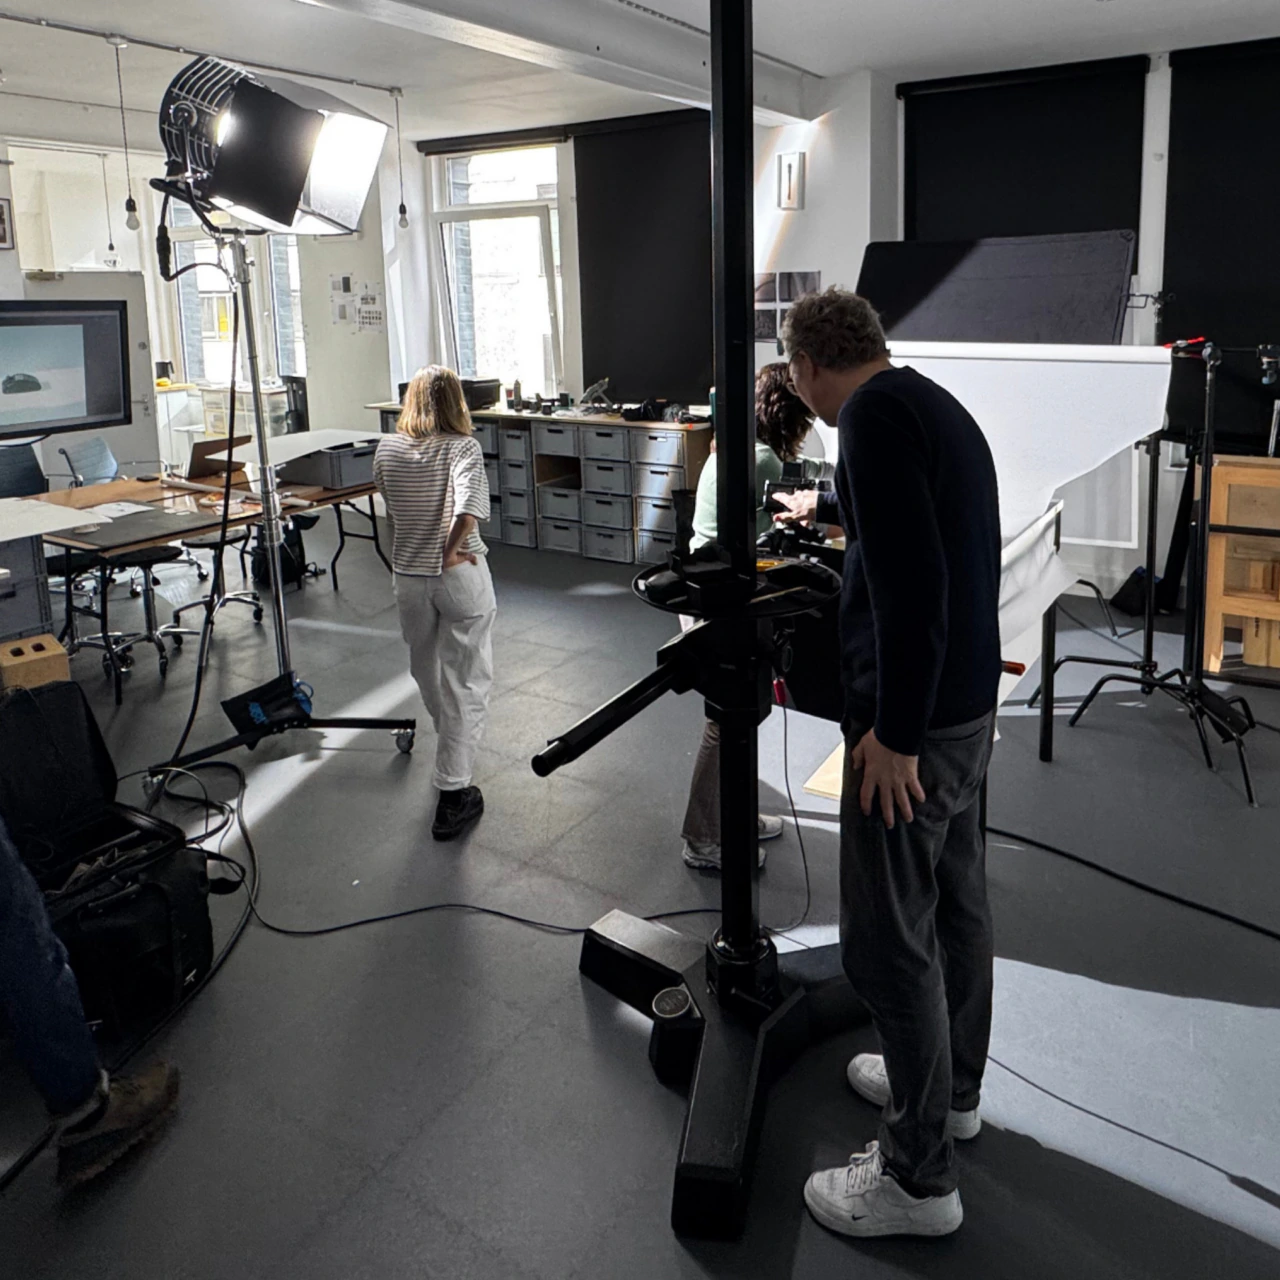
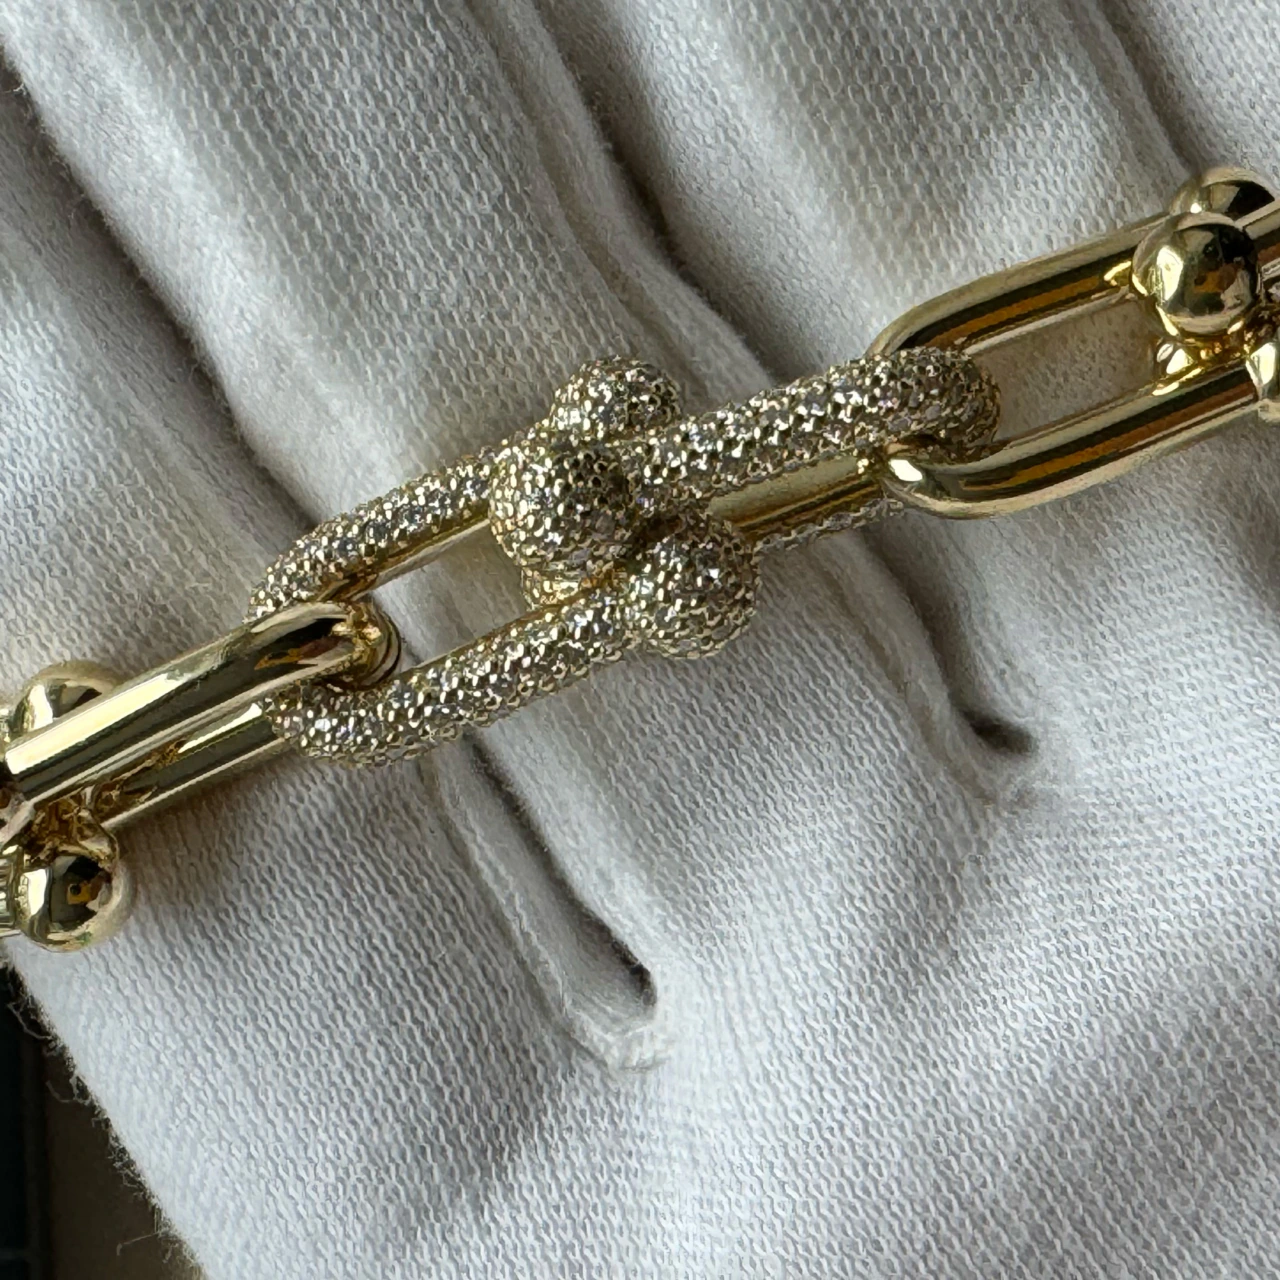
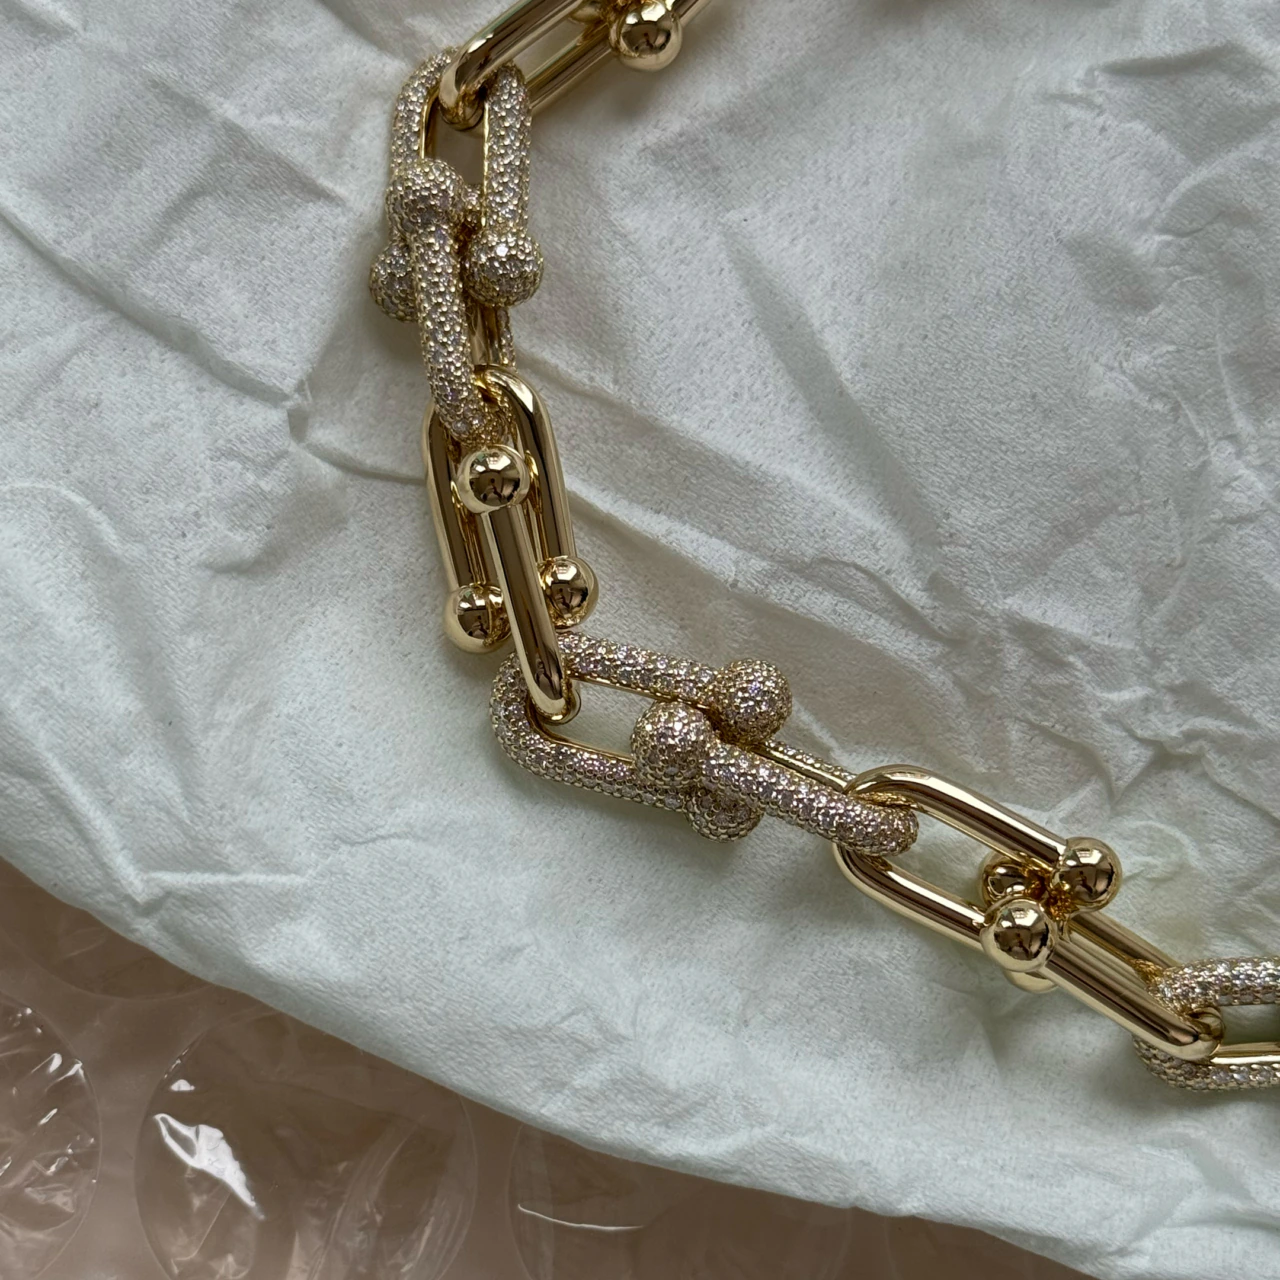
[01] Immersing ourselves in Marius Hansen’s photography studio set-up
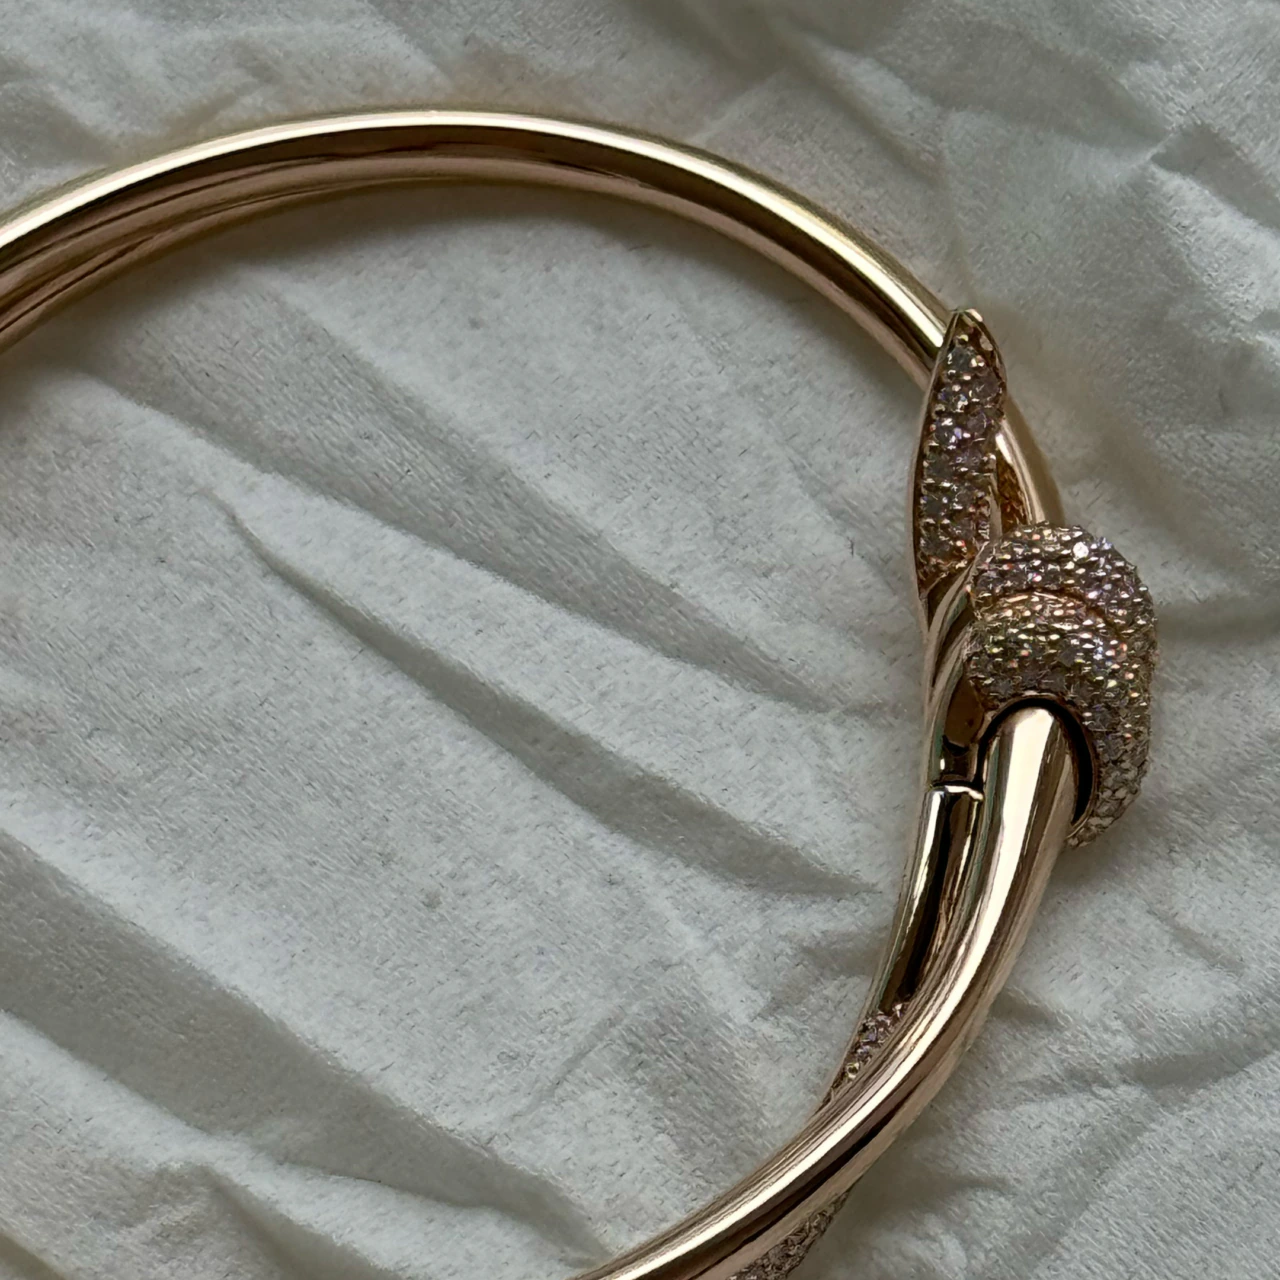
[02] Handling the real objects gave us an intimate understanding of the materiality, surfaces and form of the jewellery
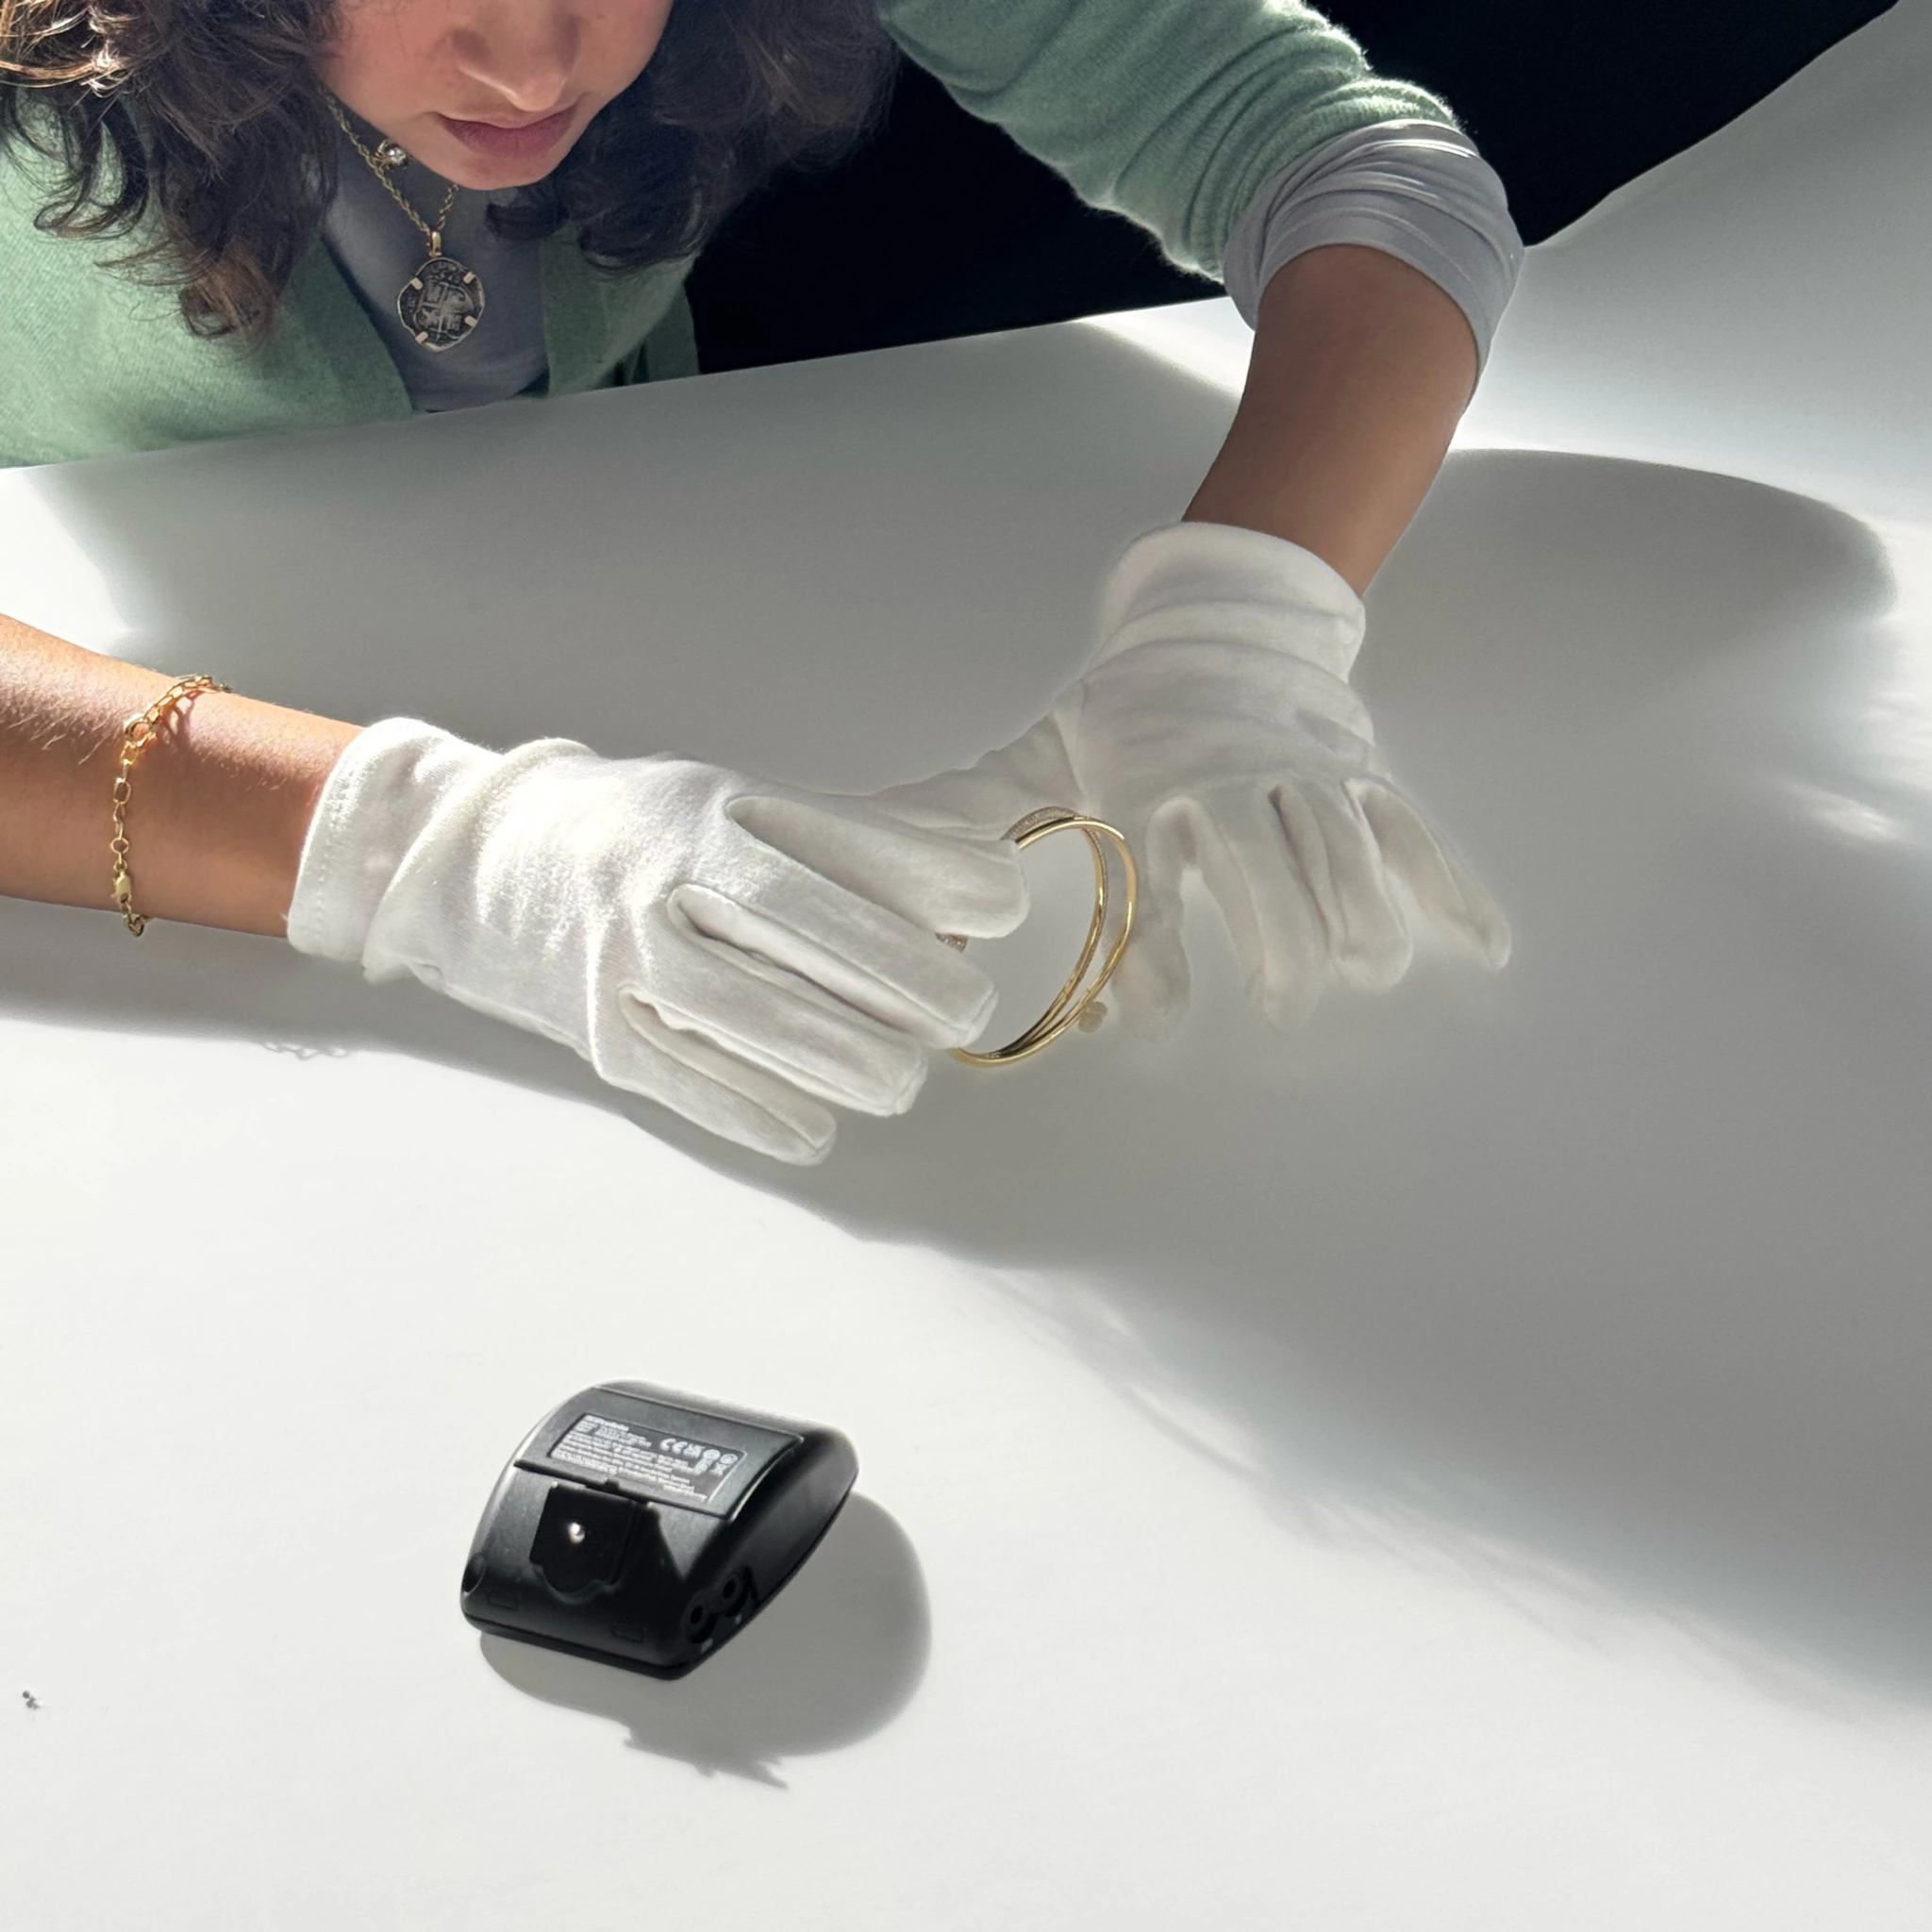
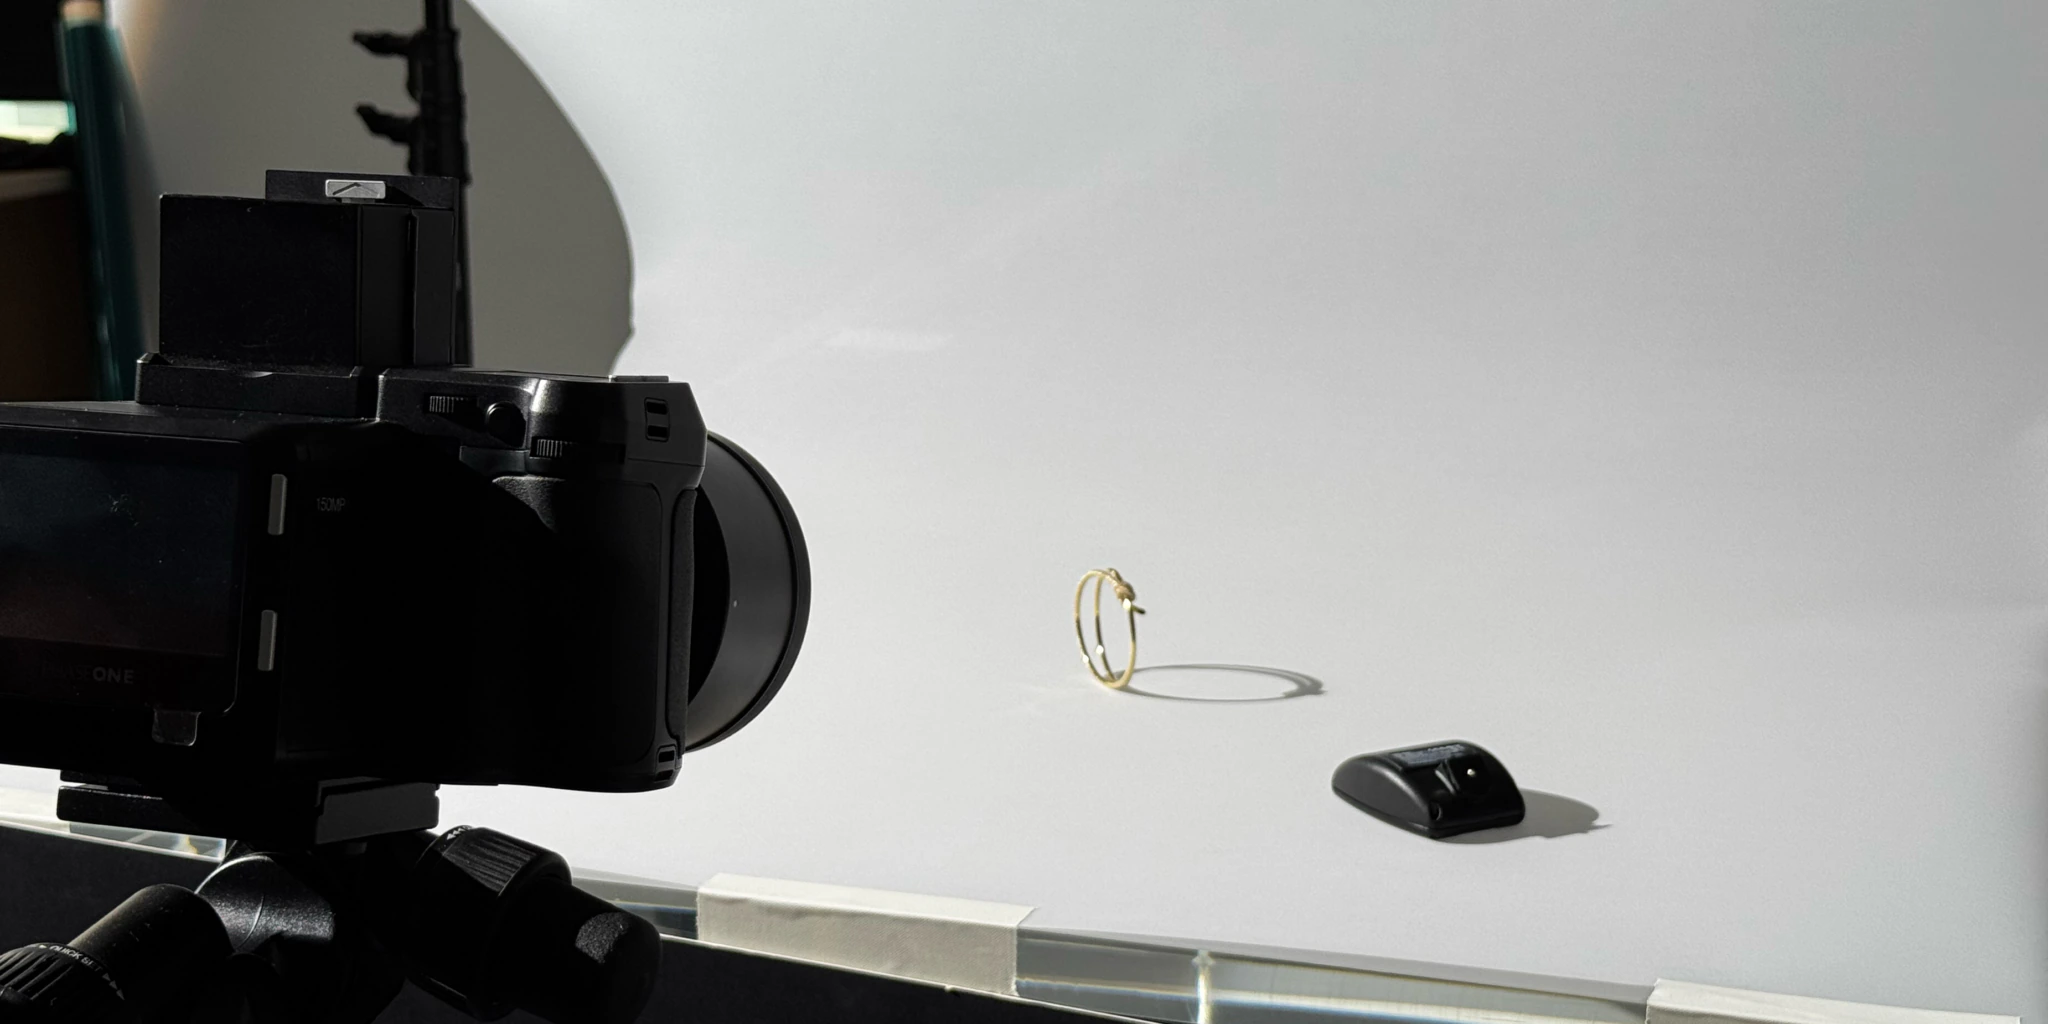
[03] The meticulous attention to detail on positioning, lighting, colour temperature, scale and lustre chimed with our attitude and approach to 3D scenes
CGI Builds
[Transferring Knowledge]
We studied Marius’s reference images whilst translating and preparing CAD models of the jewellery. As we prepped our 3D setups, we experimented with different views and angles, allowing us to accurately apply the complex material behaviours and subtle surface imperfections we had learned from the physical shoot.
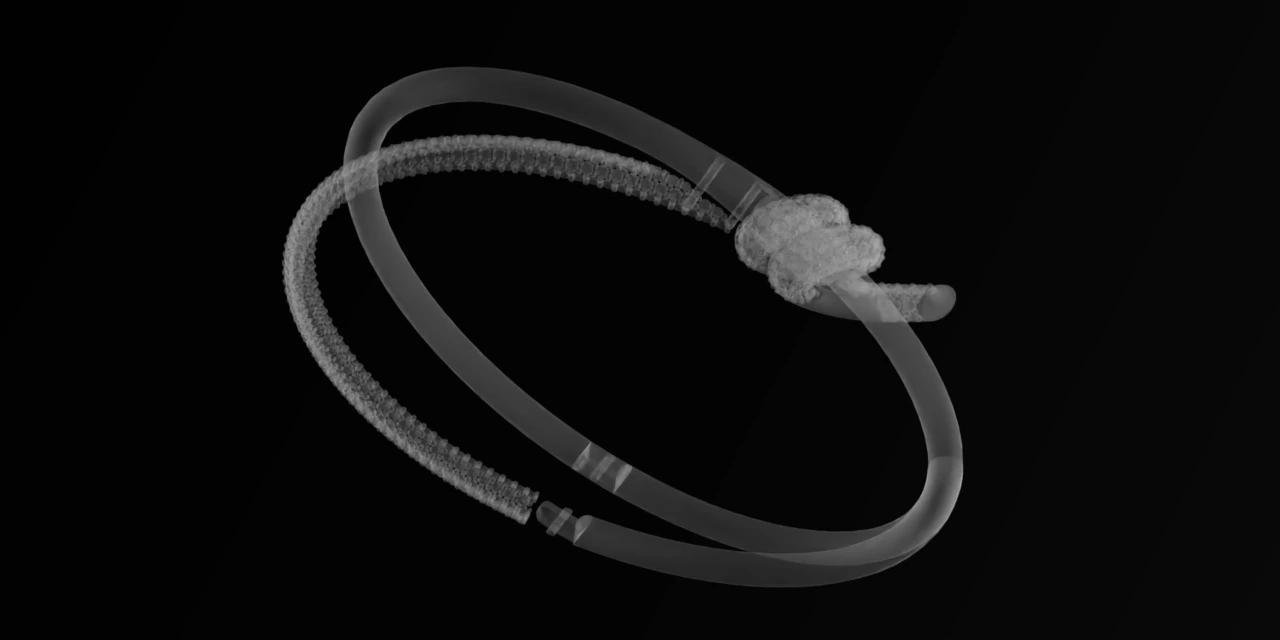
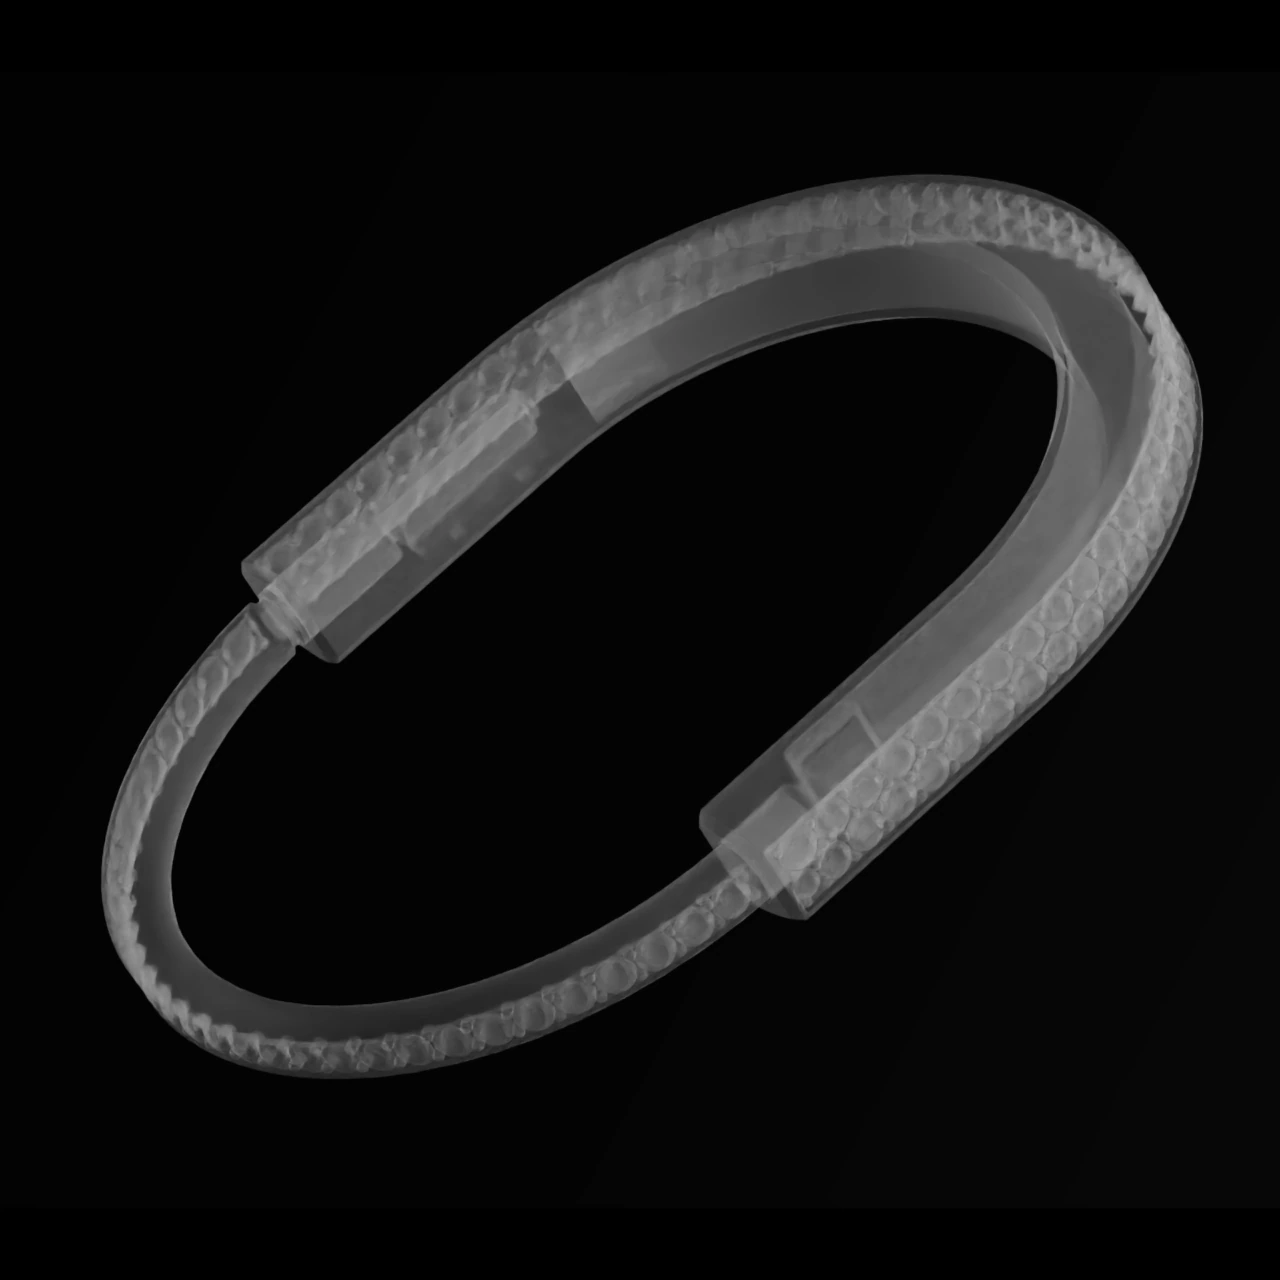
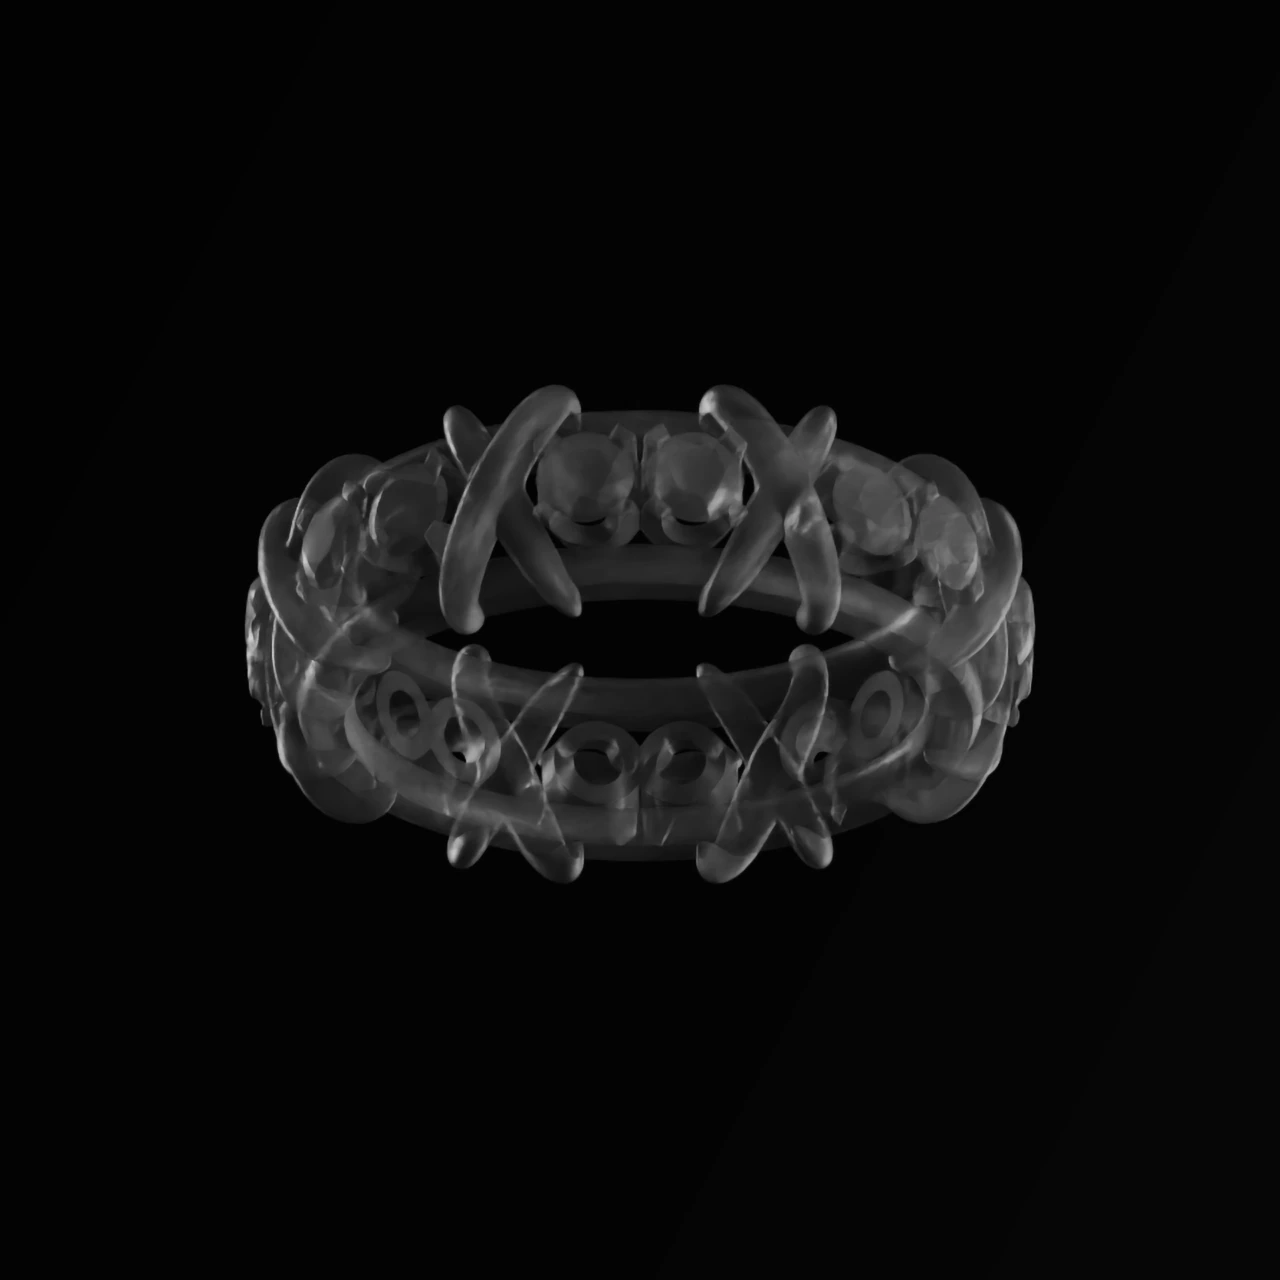
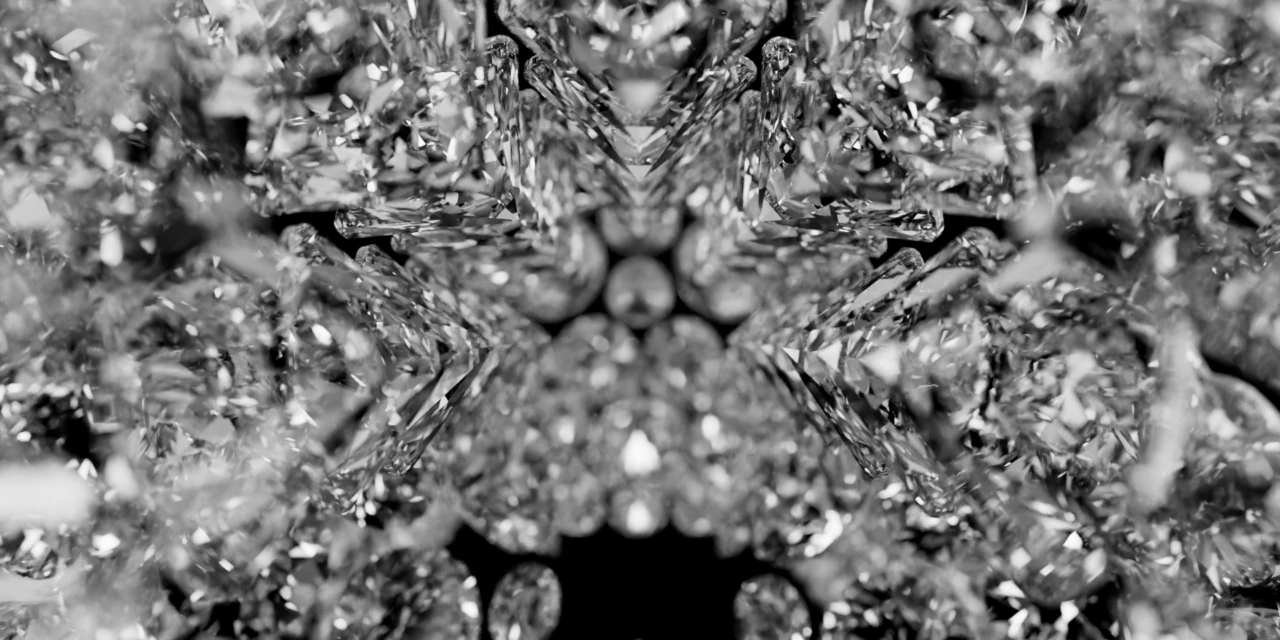
[04] Bringing the models into our world saw us adapting, splitting and scrutinising the forms, experimenting with various component parts along the way
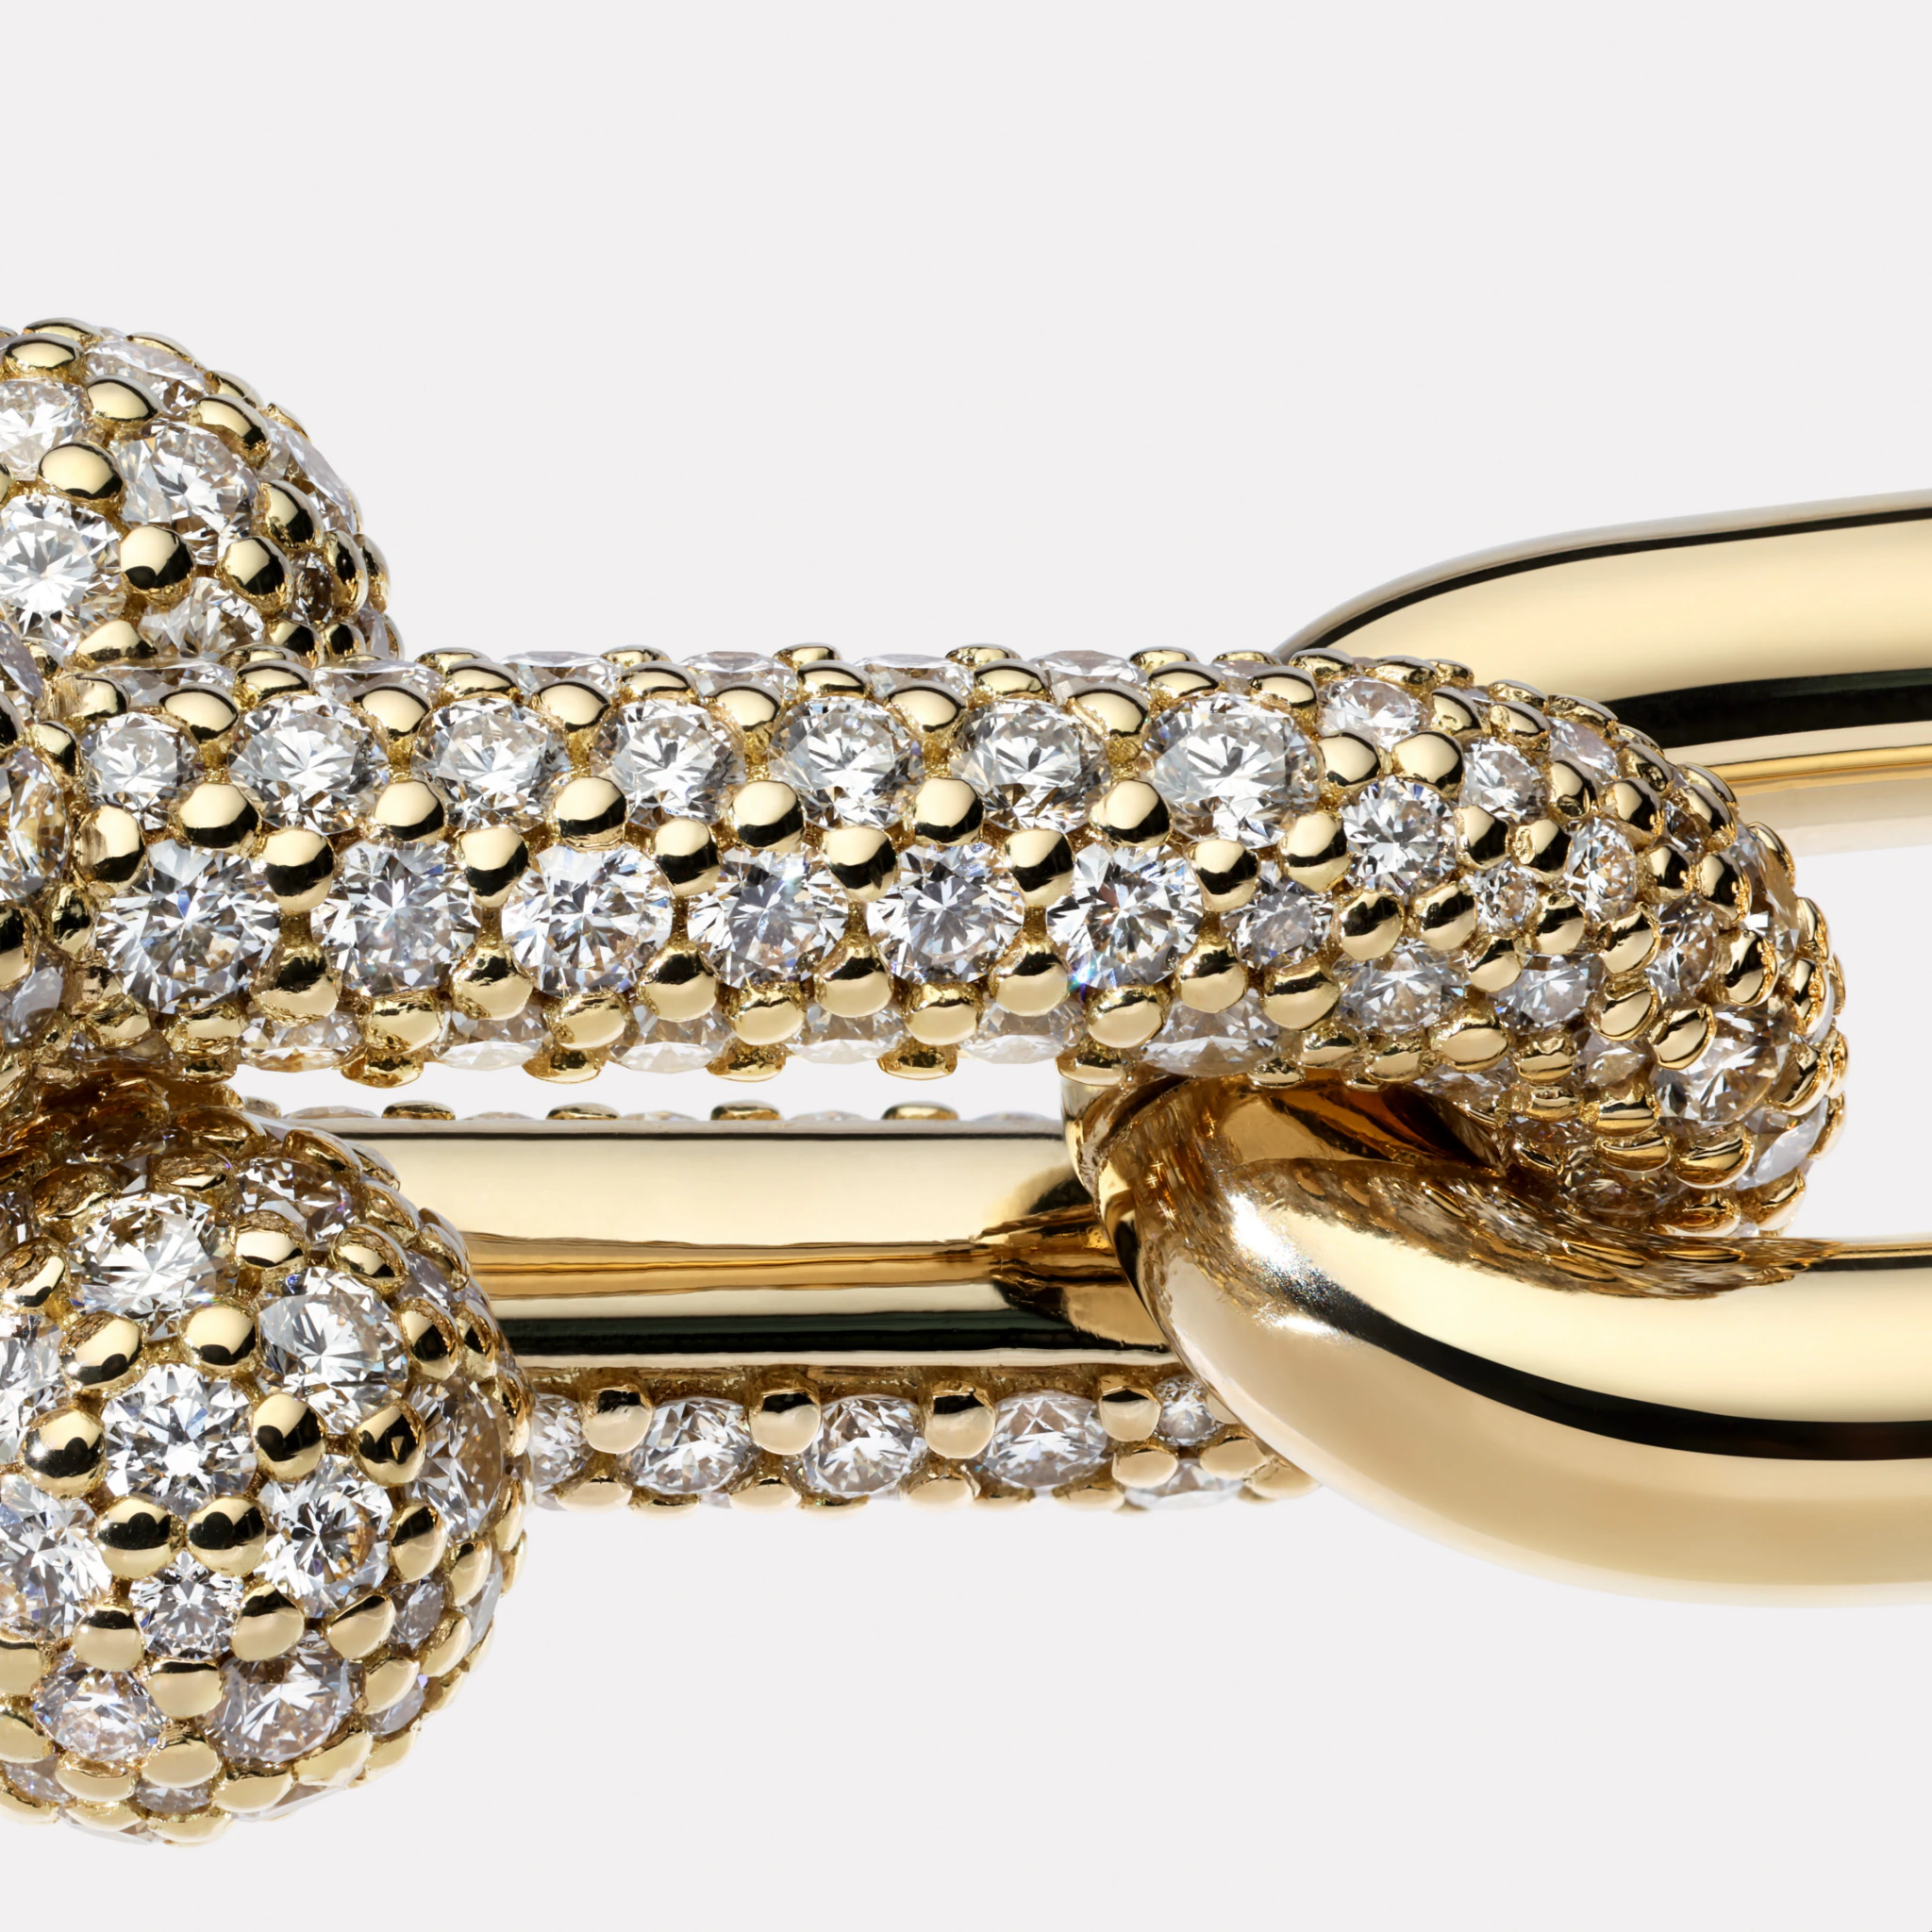
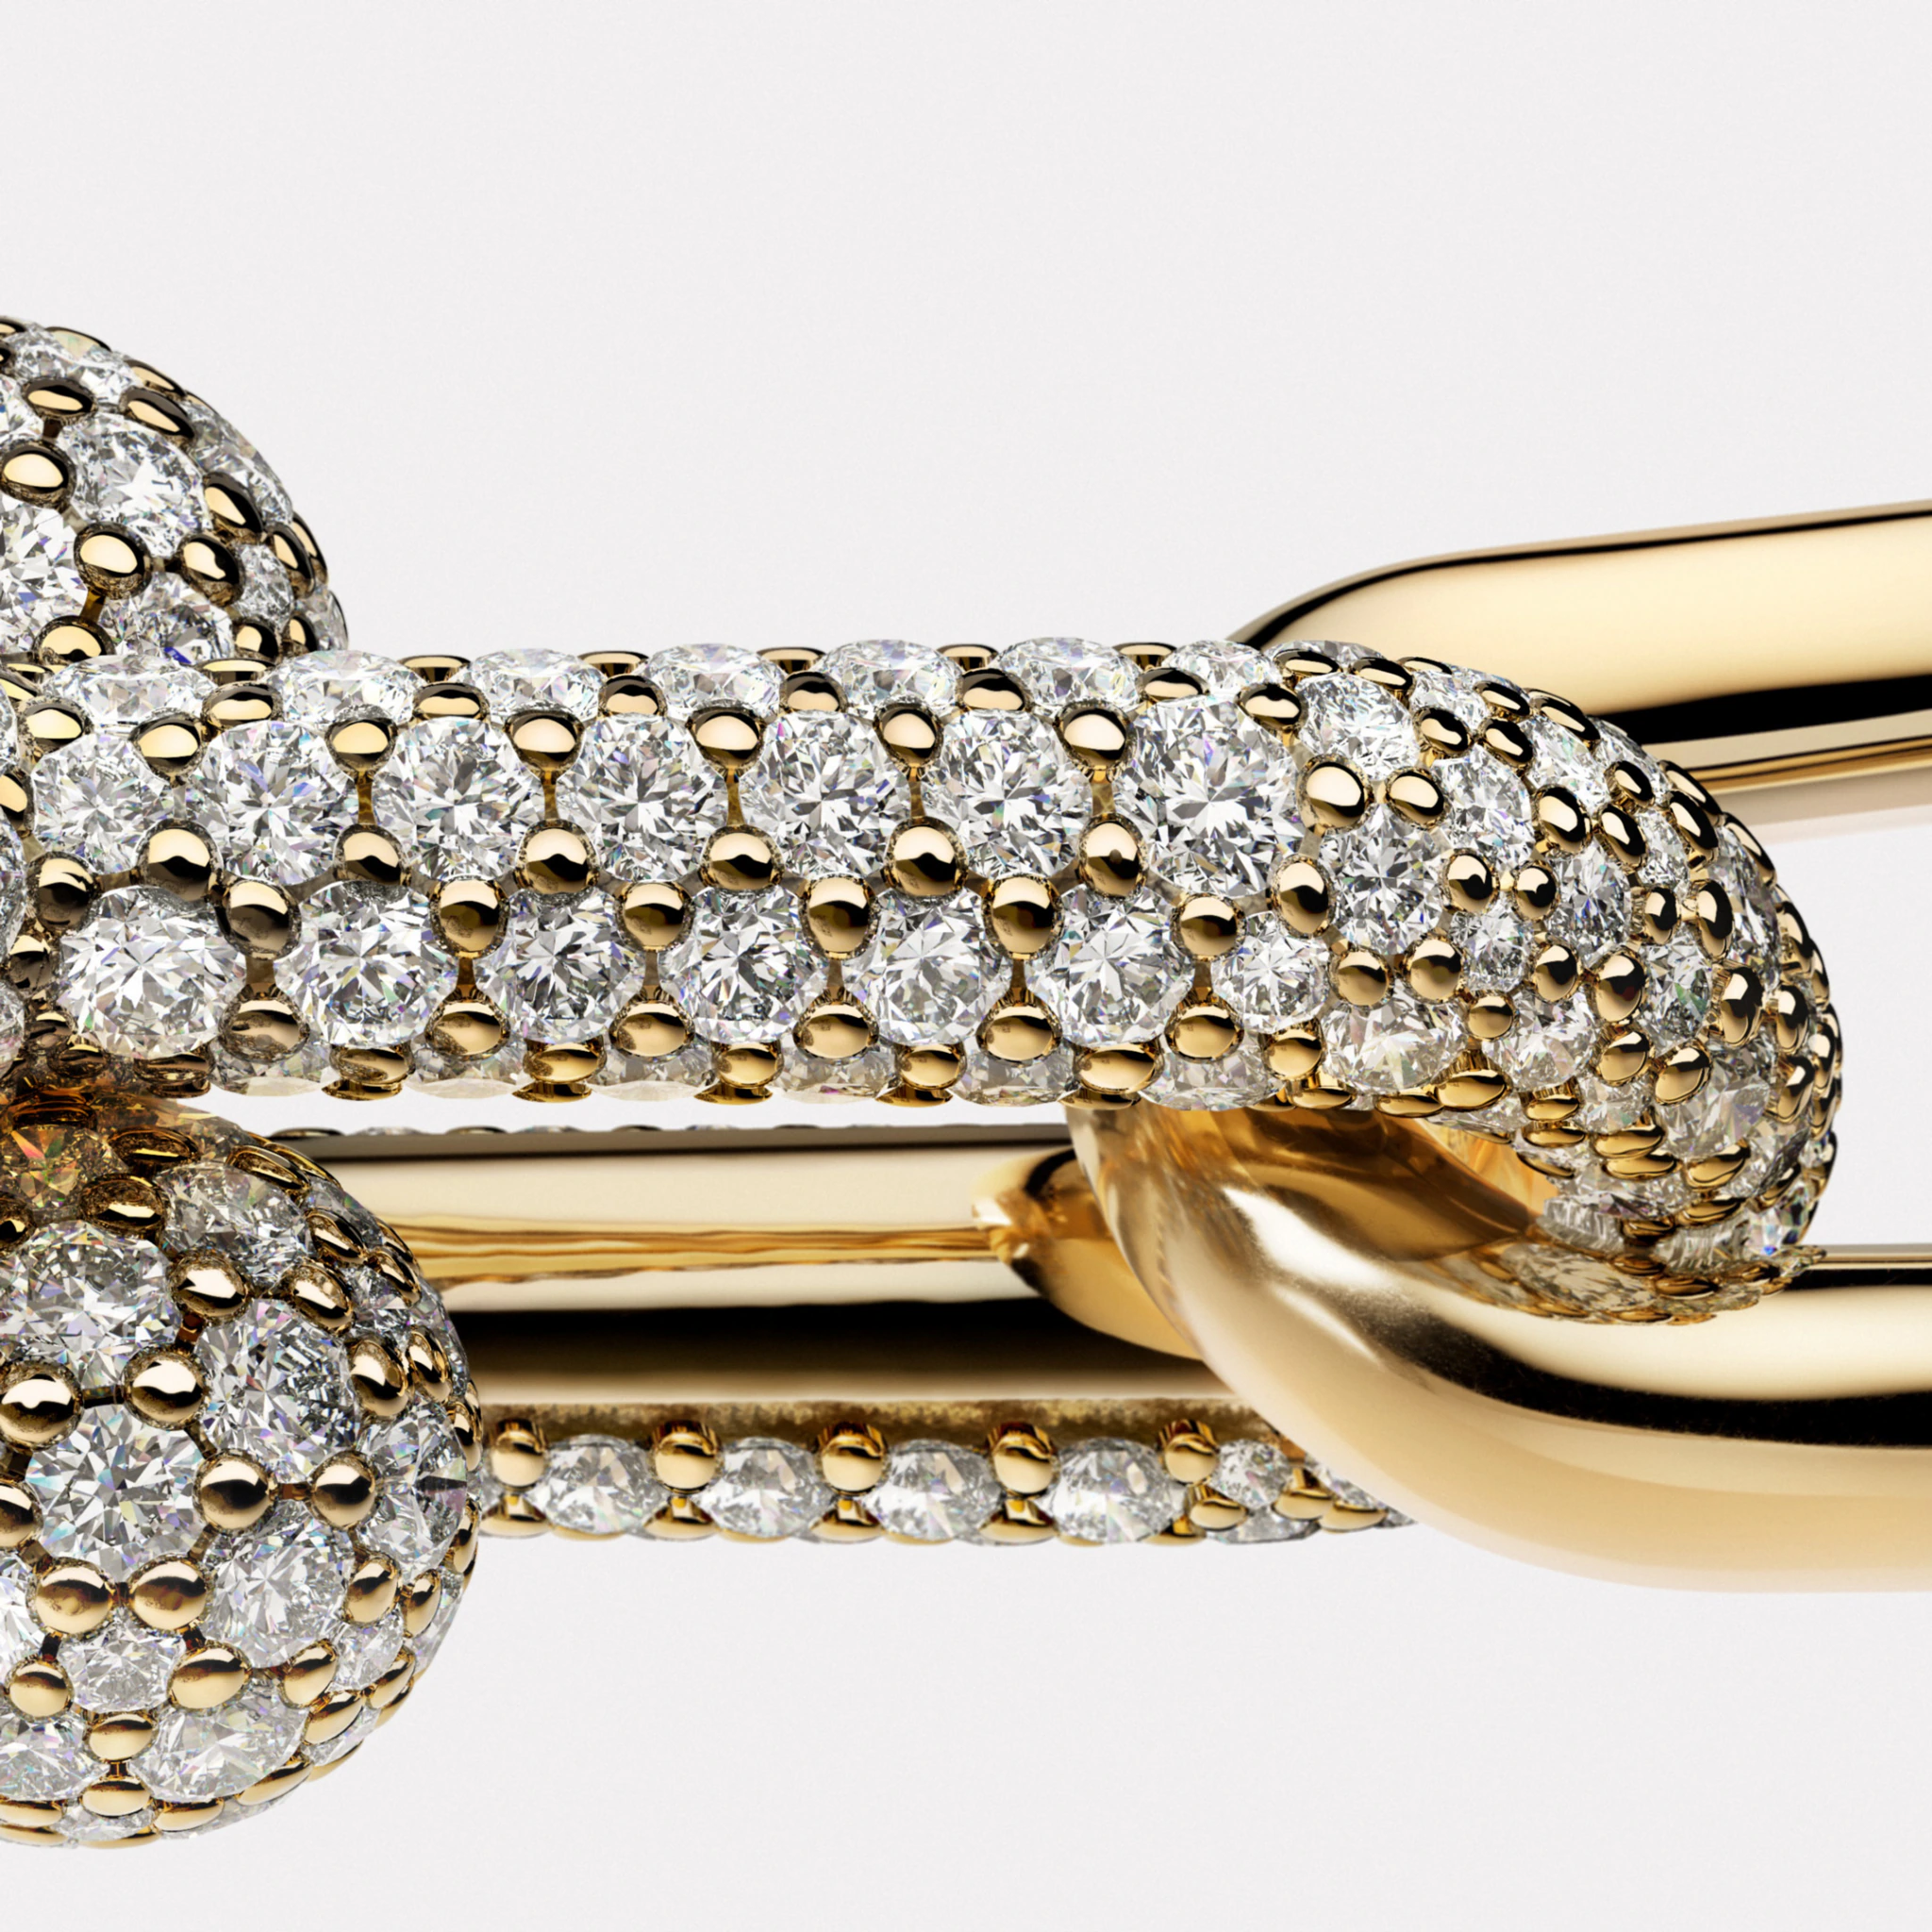
[05] Found x Marius Hansen: photography (left) and 3D render (right) comparison exercise highlighted subtle differences between the CAD and the jewellery
[06] A compilation film to test our translations in motion across multiple angles
Photographing 3D Renders
[Mixing Disciplines]
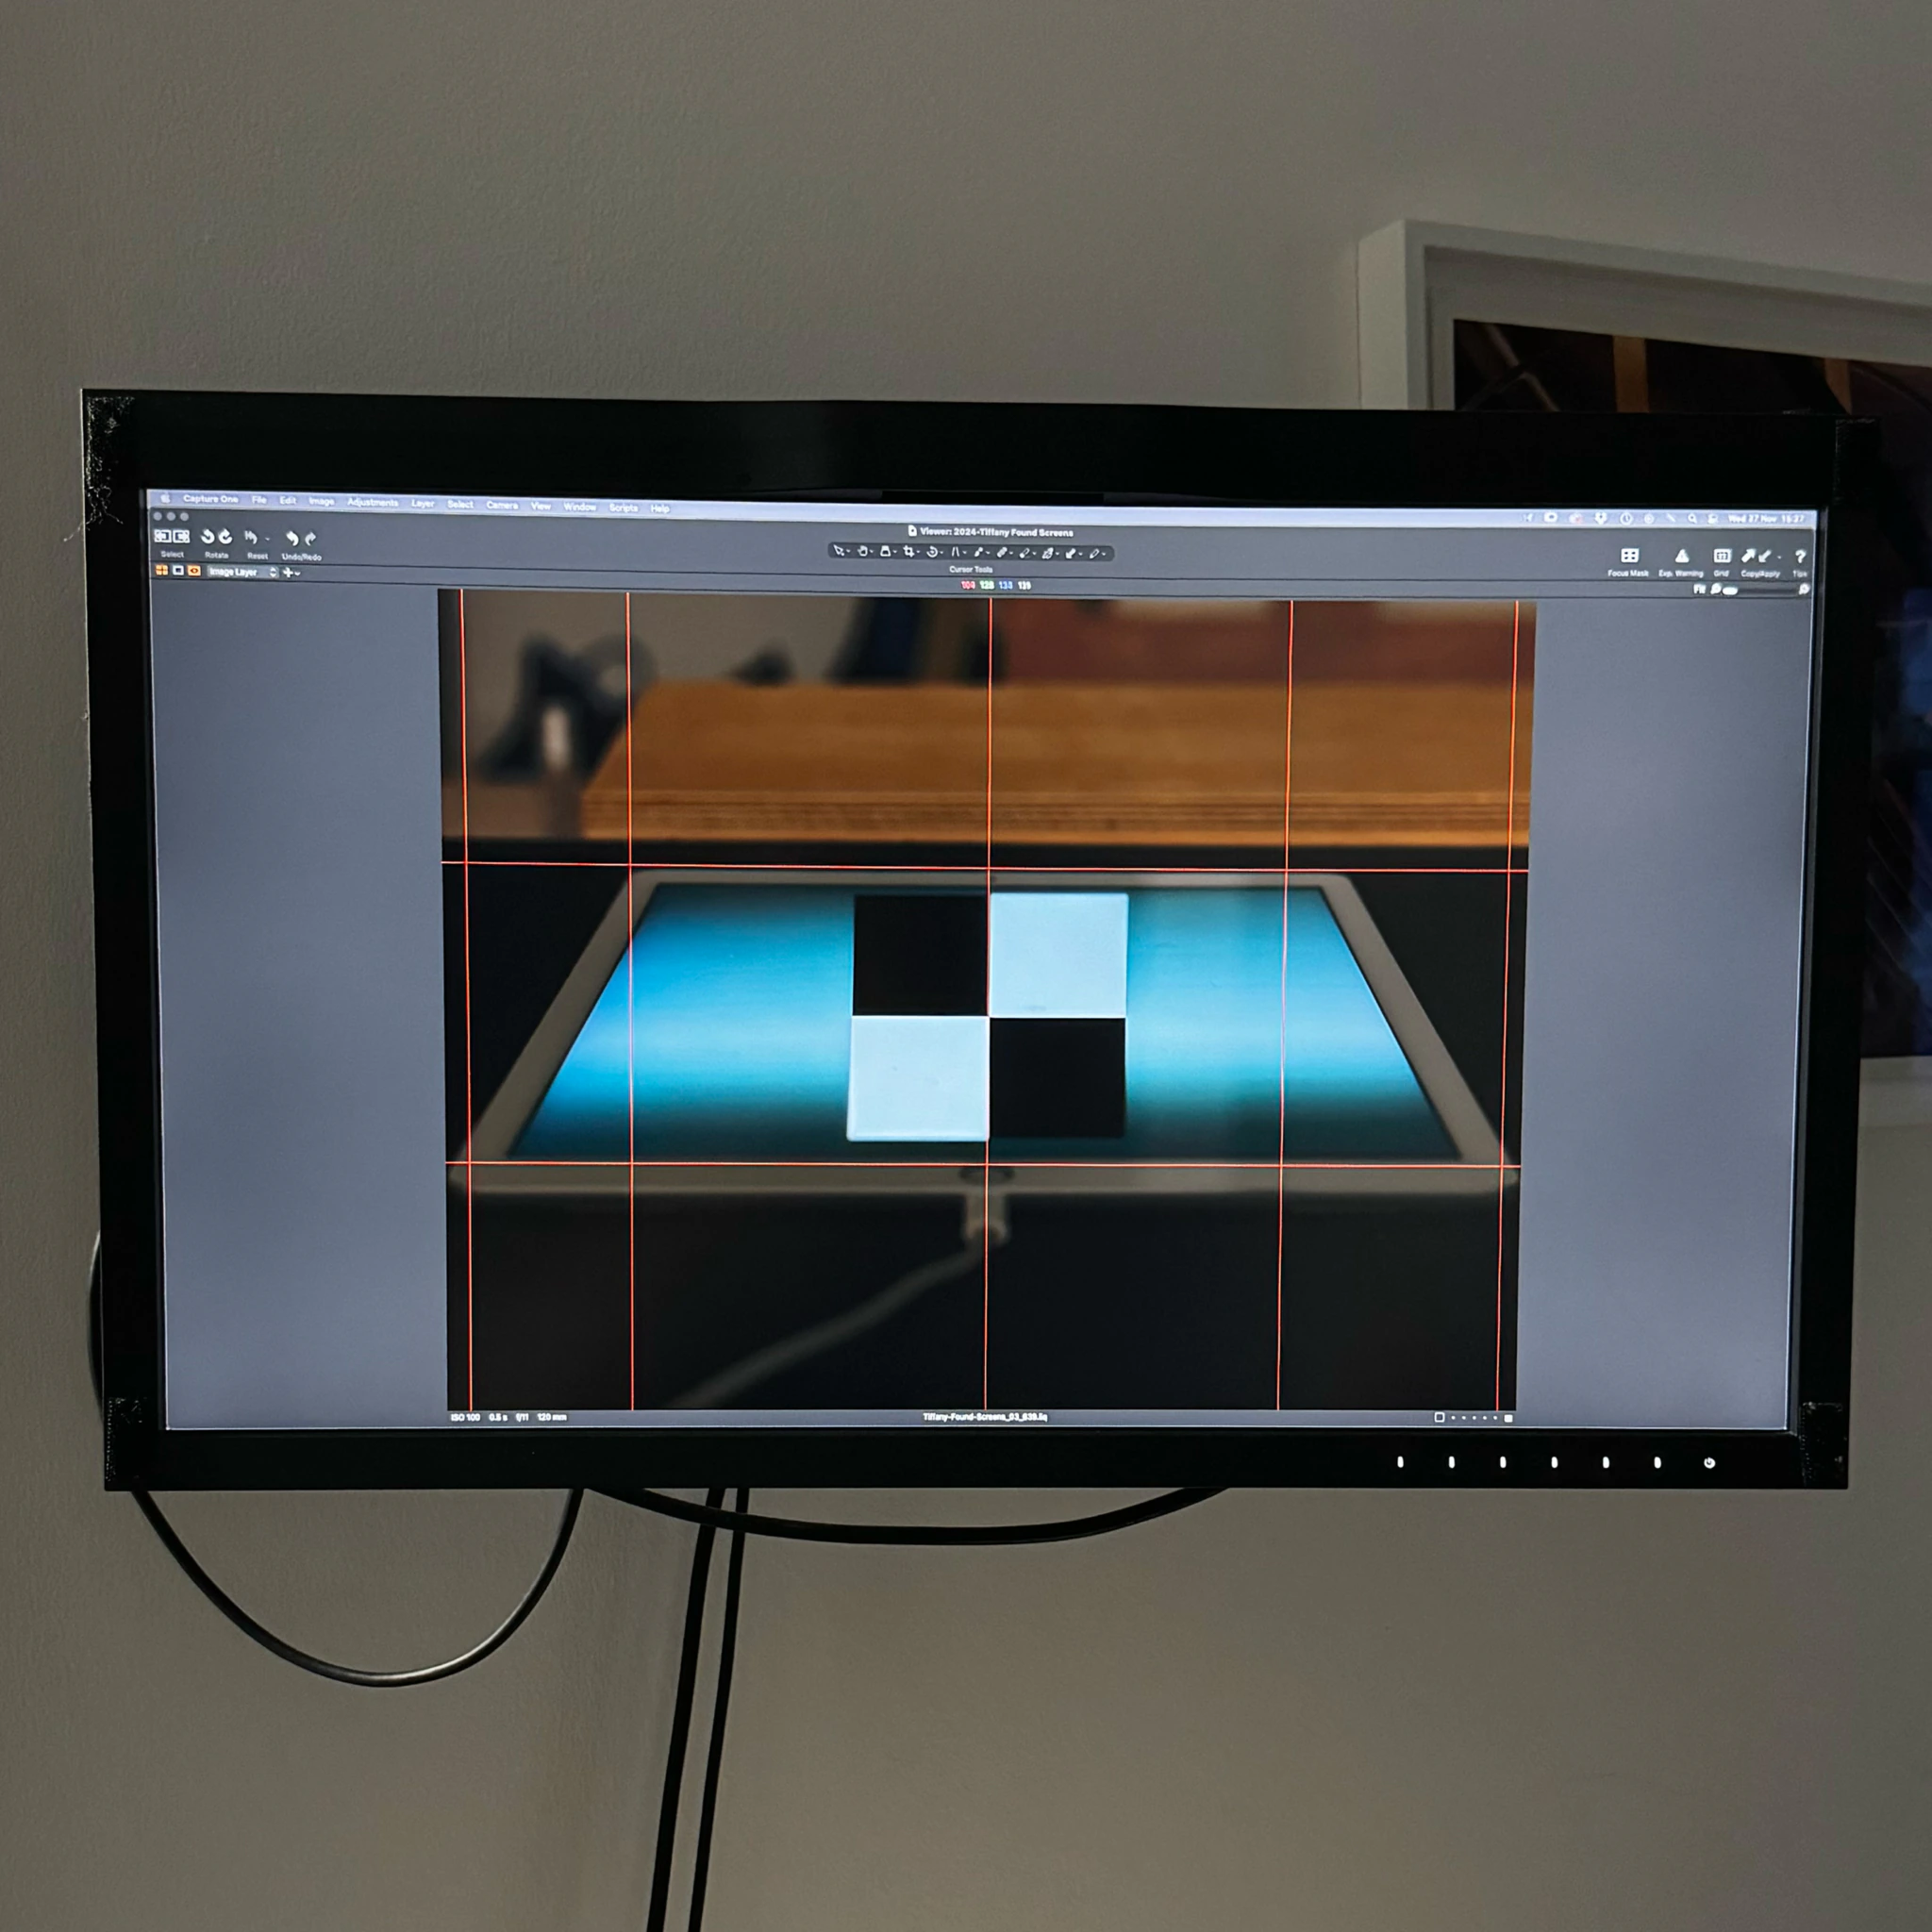
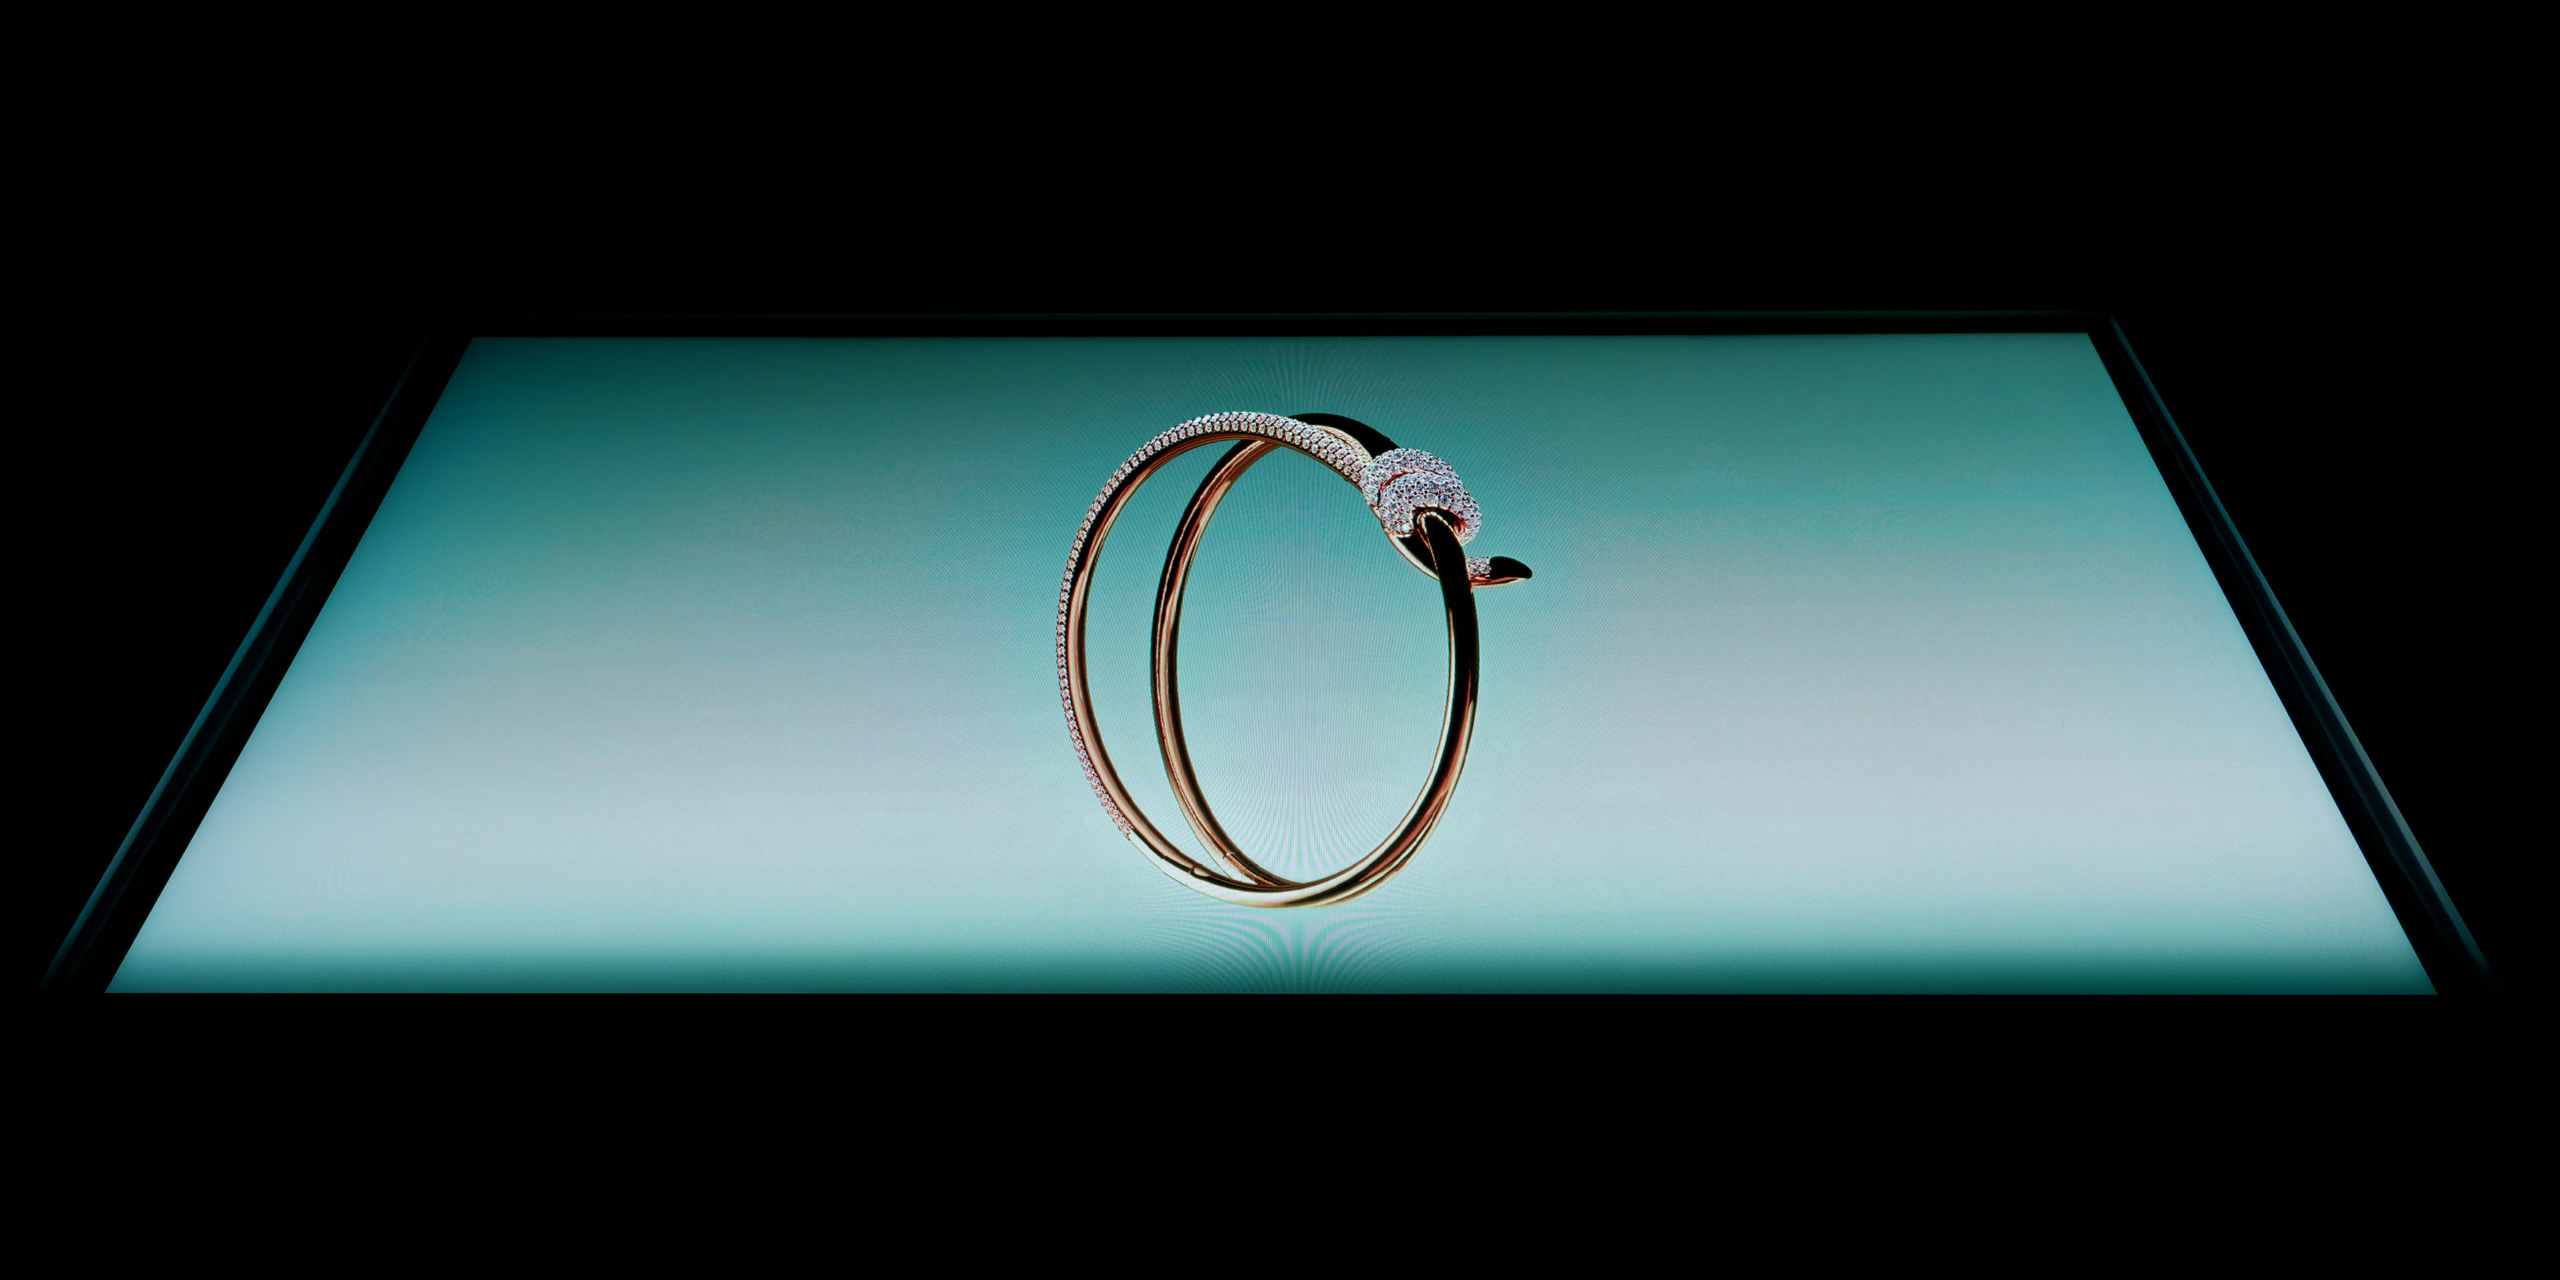
After the final rounds of compositing and retouching, we returned to Marius’s studio with our finished renders displayed on high-resolution screens. By photographing these screens and experimenting with anamorphic correction and multi-exposure techniques, we captured beautifully unexpected in-camera results, creating imagery neither discipline could have achieved on its own.
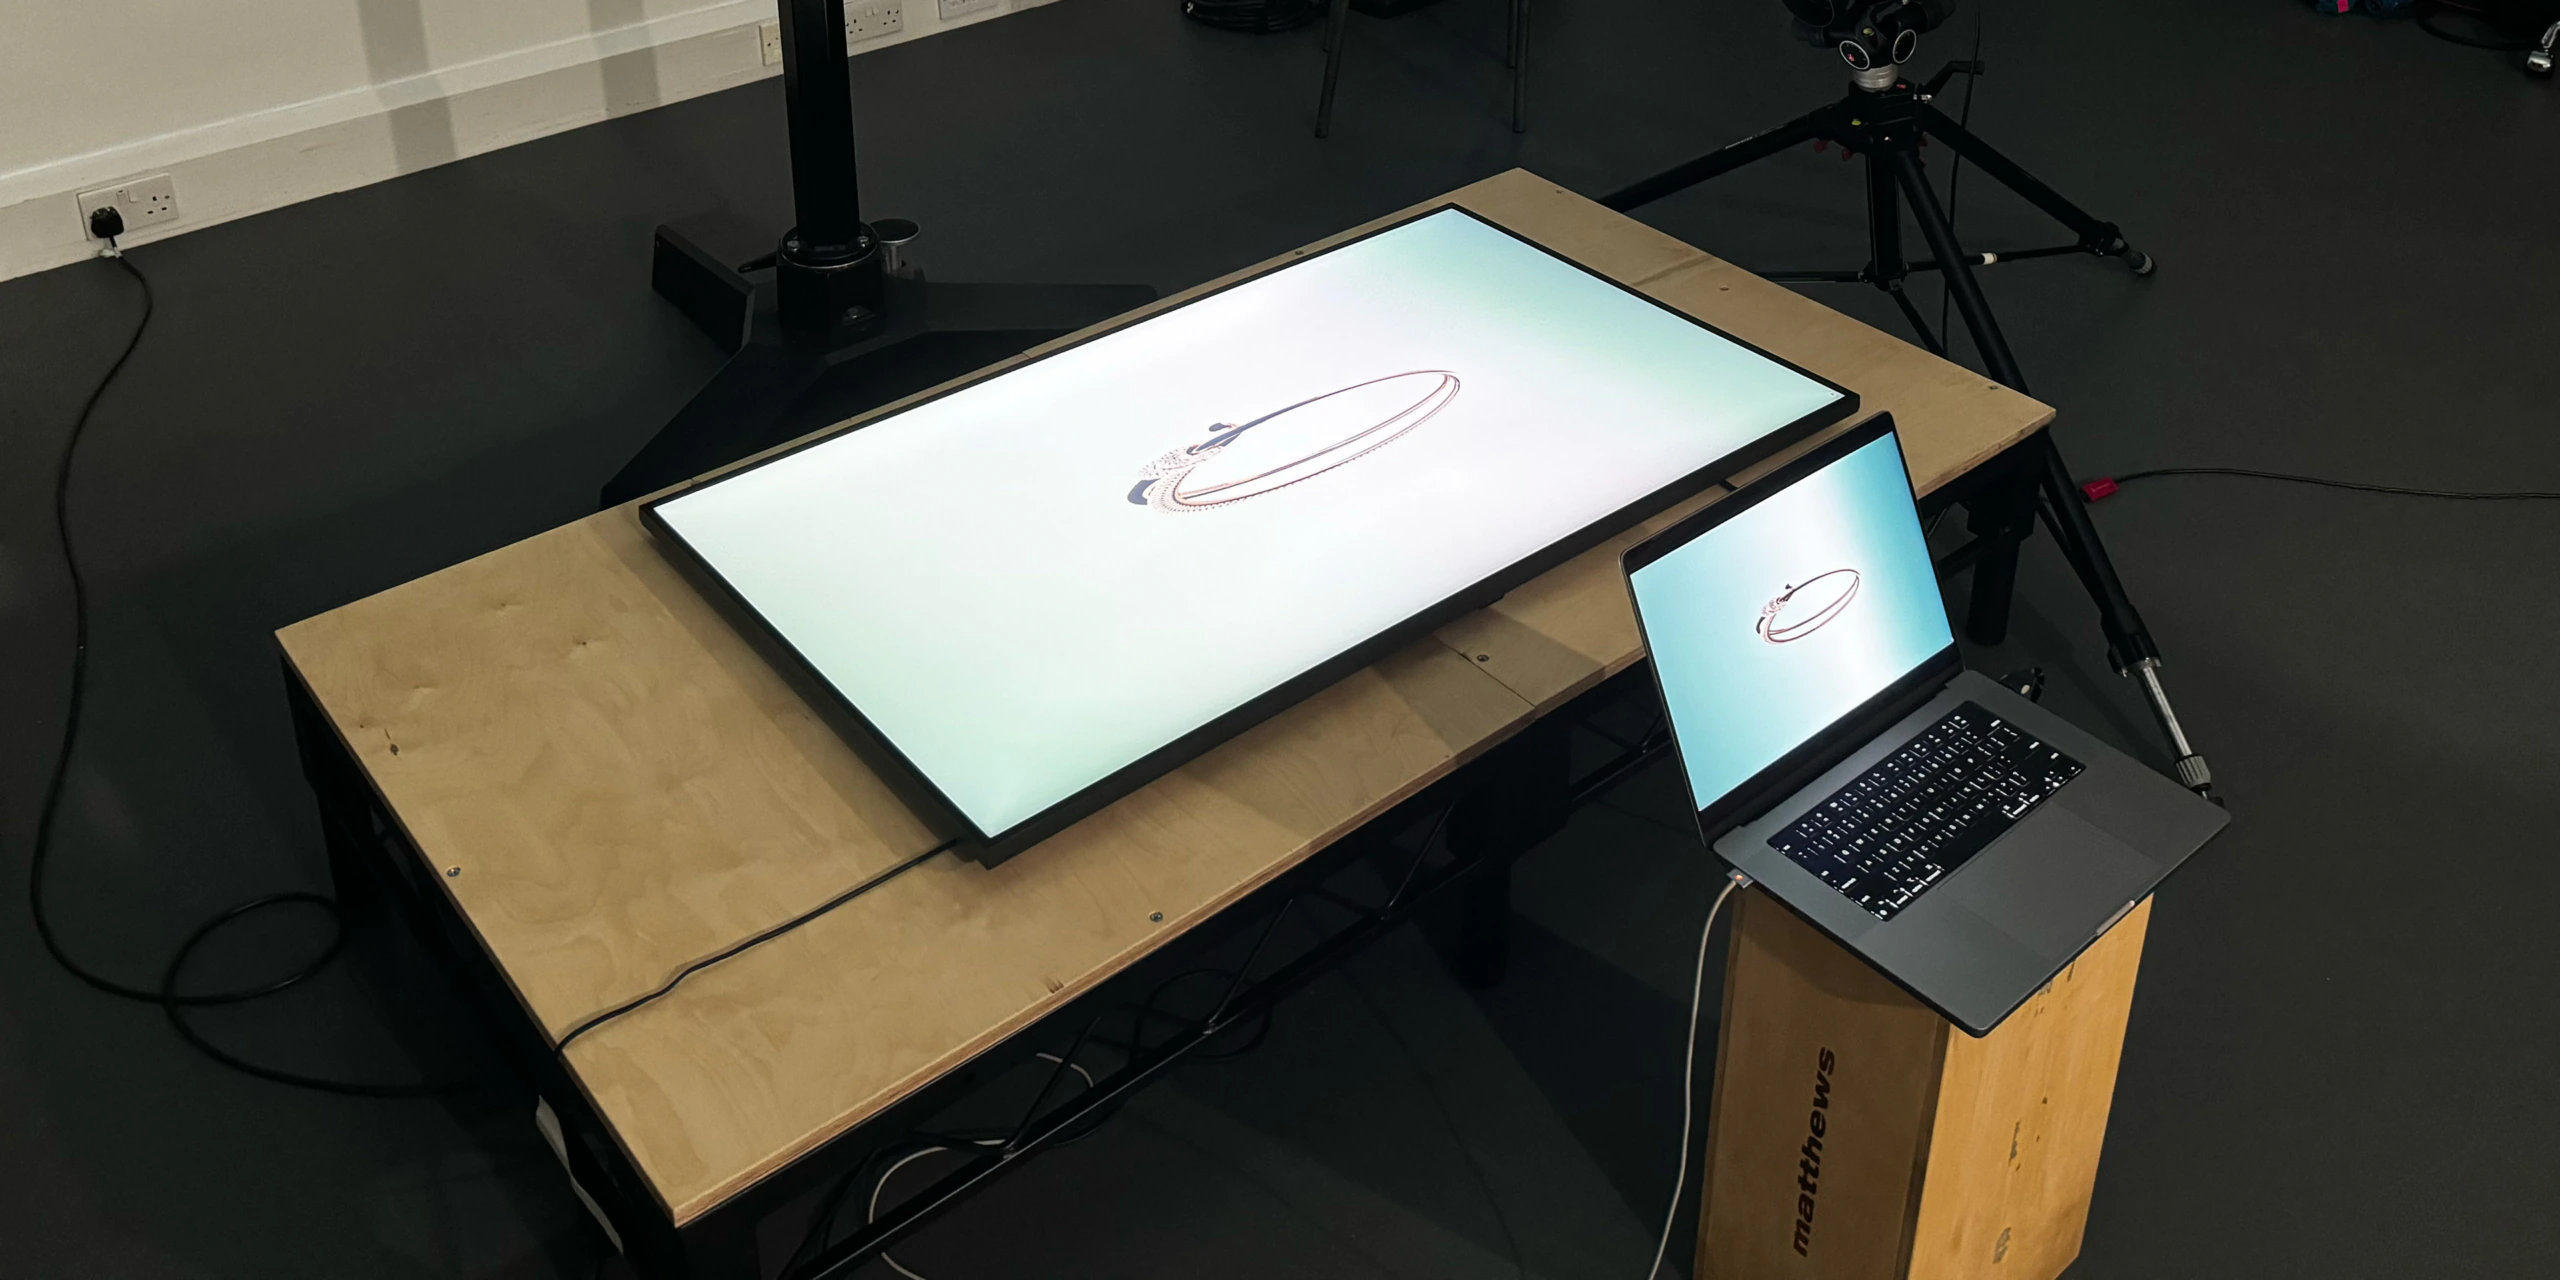
[07] Reshooting the renders from the screen required specific distortions and an intricate anamorphic multi-camera set-up
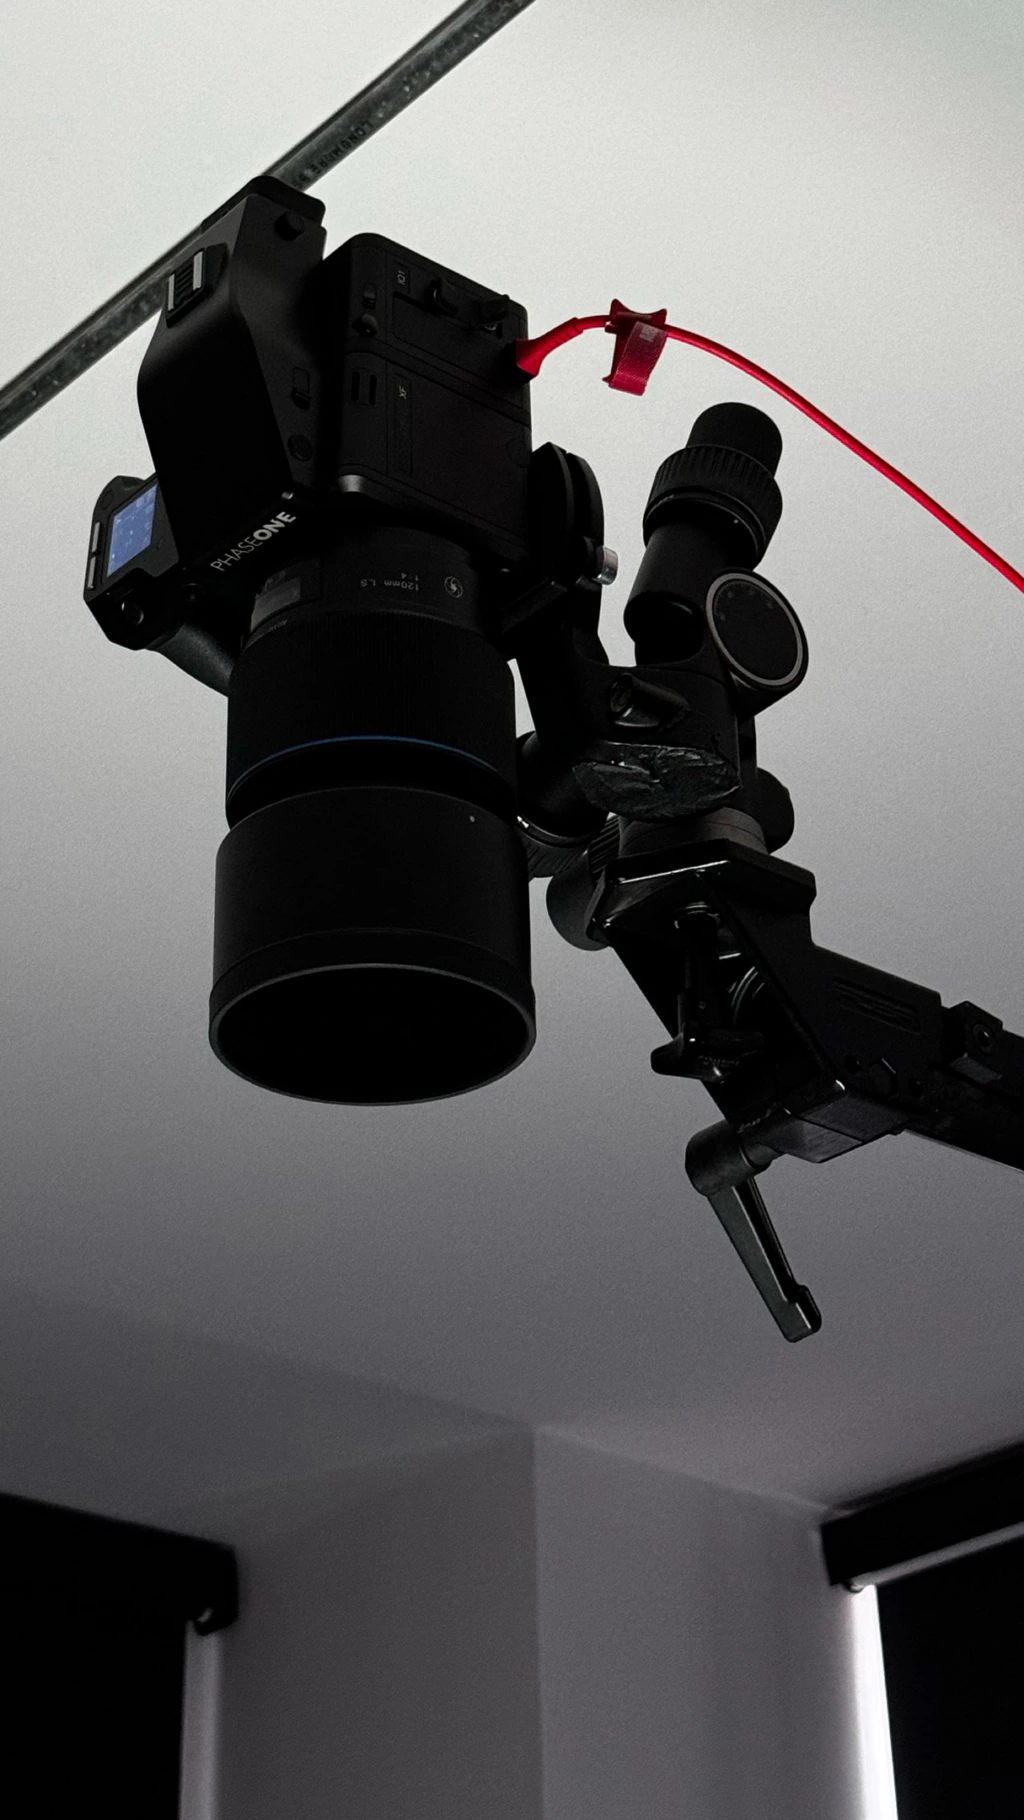
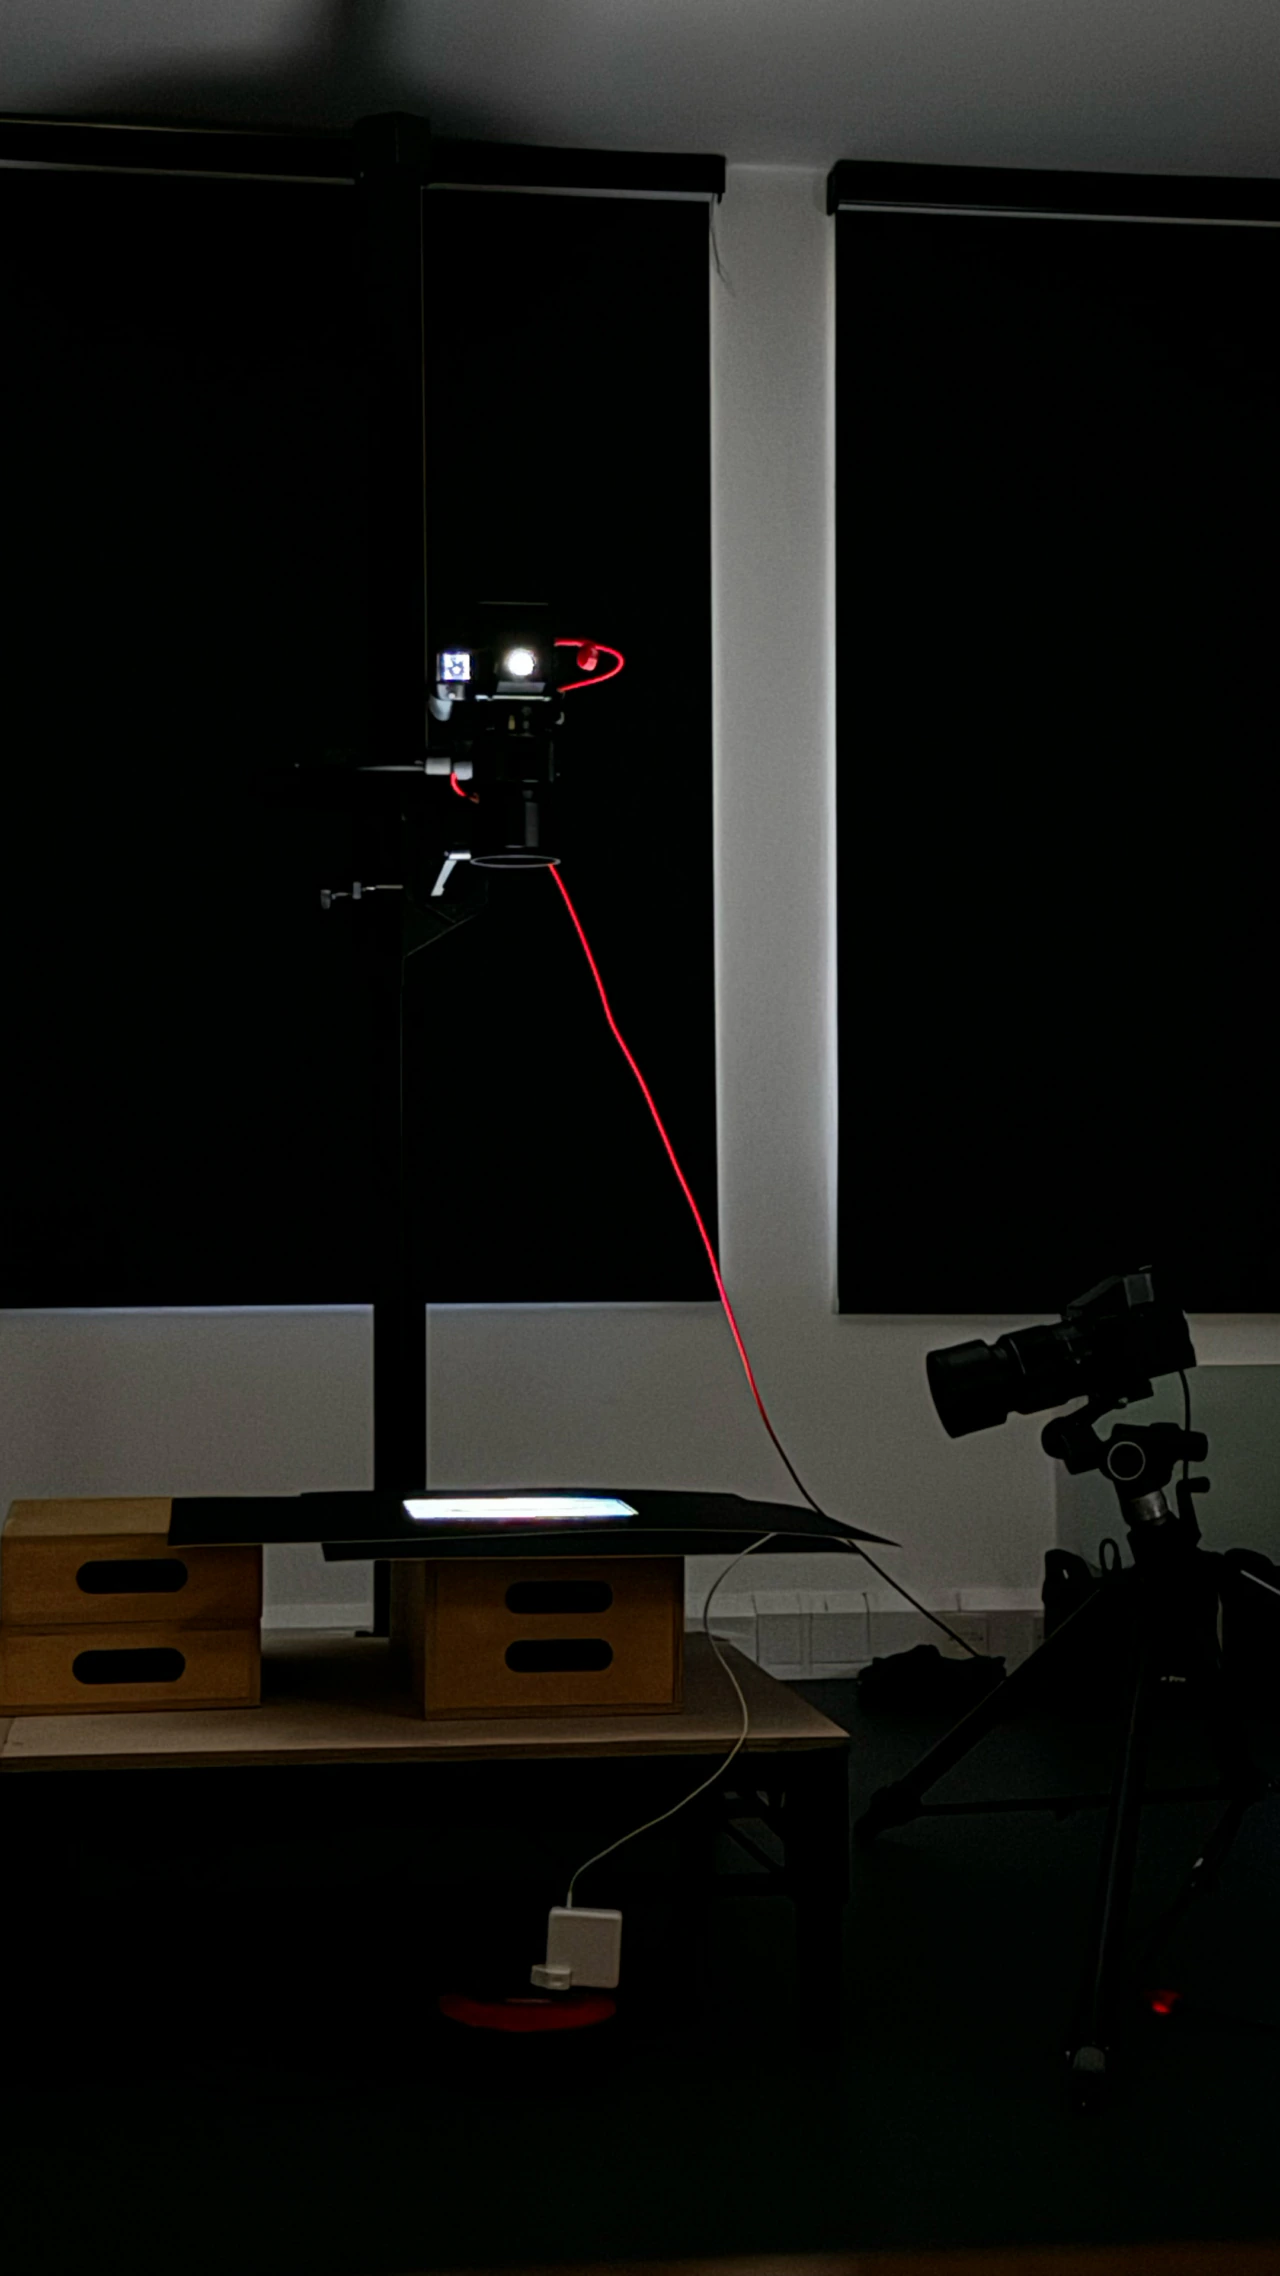
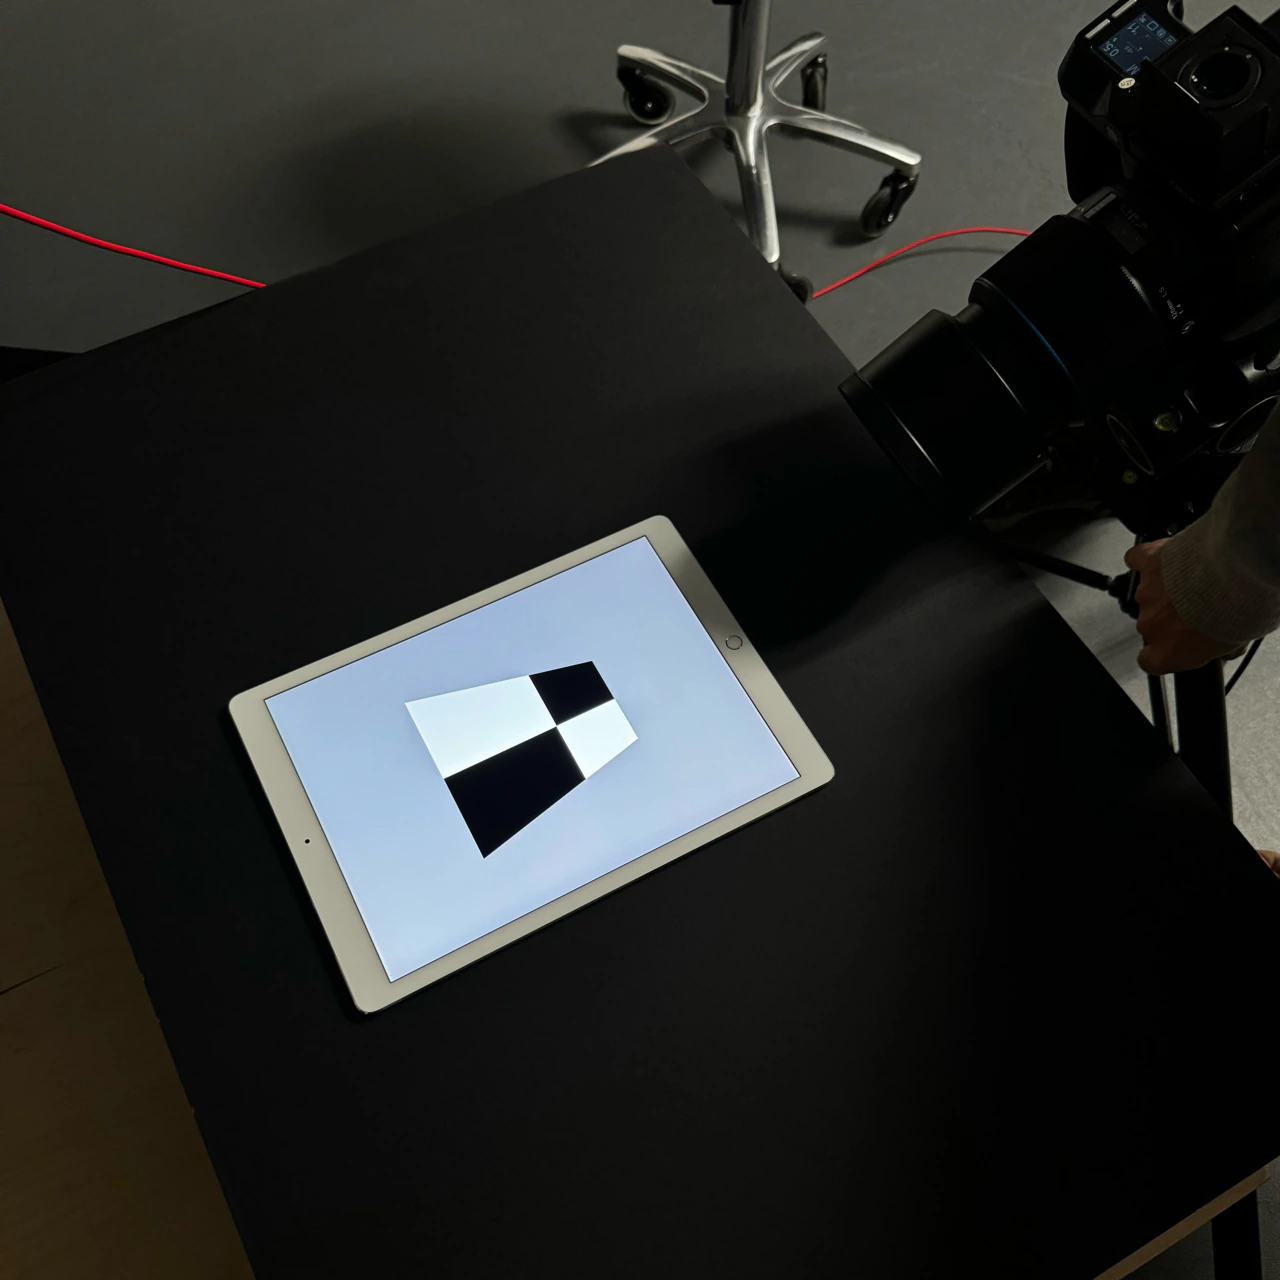
[08] Working out anamorphic distortion calculations and camera angles using simple graphic forms
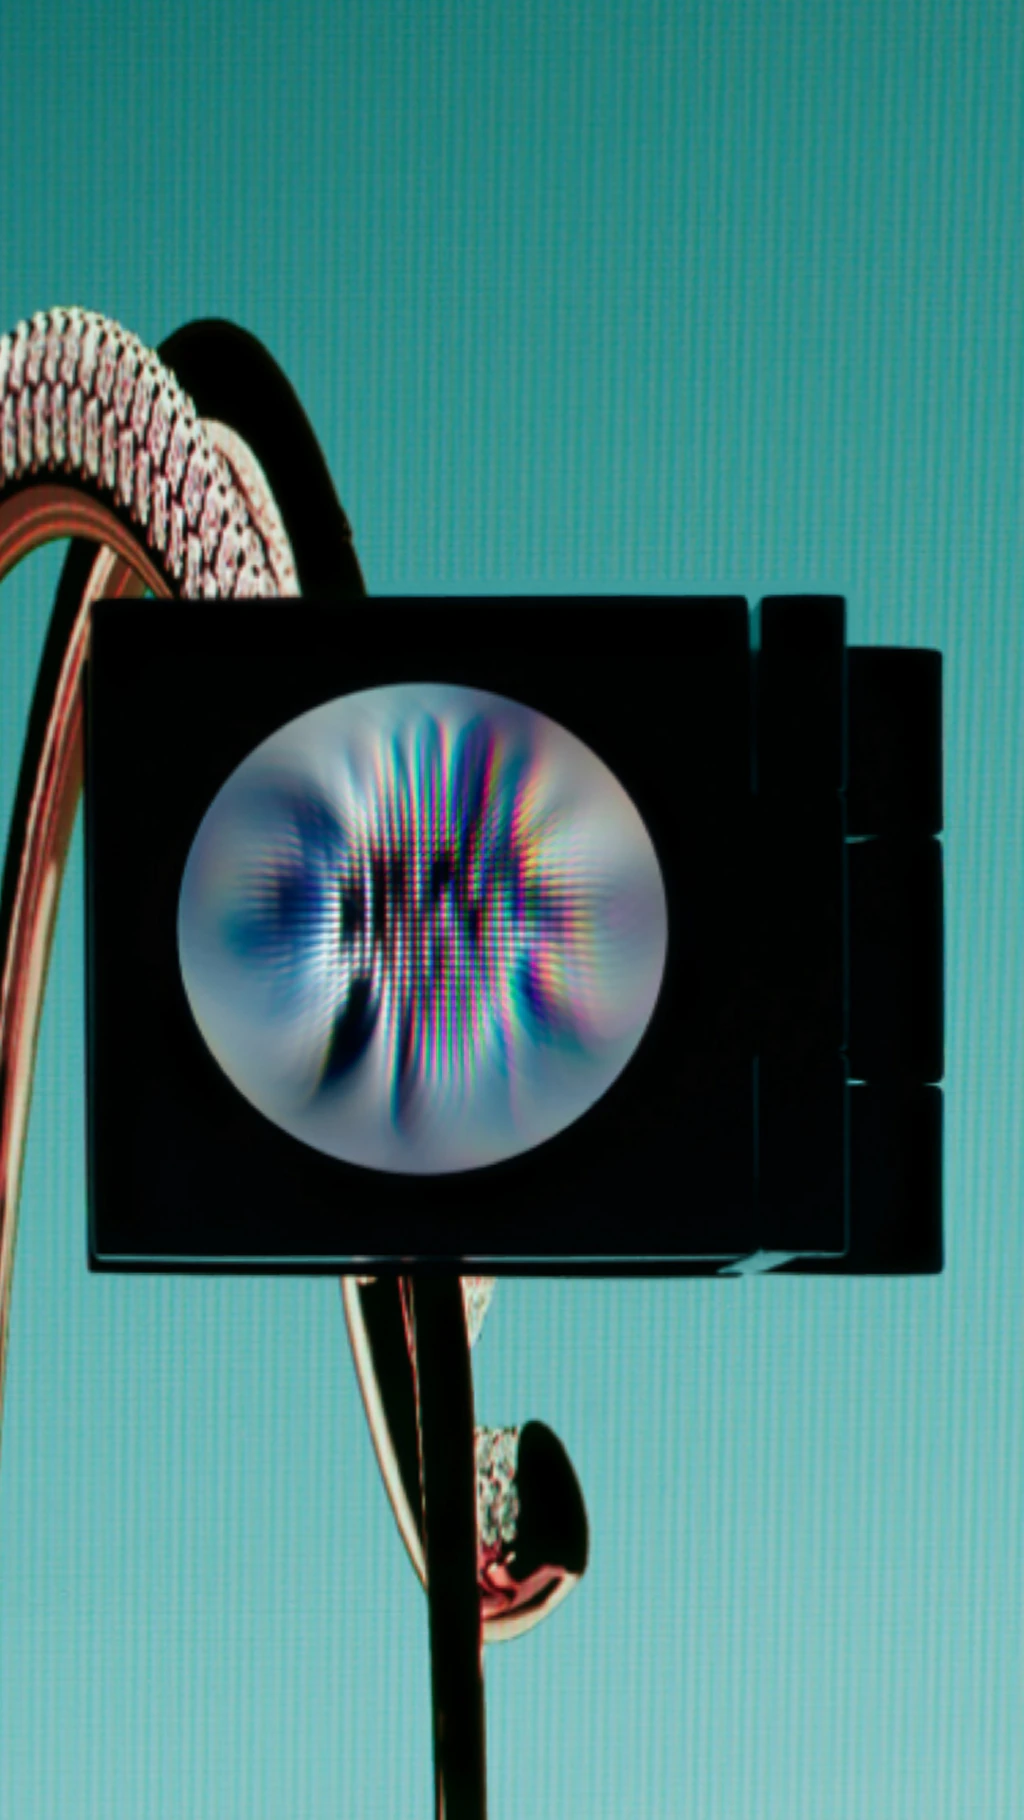
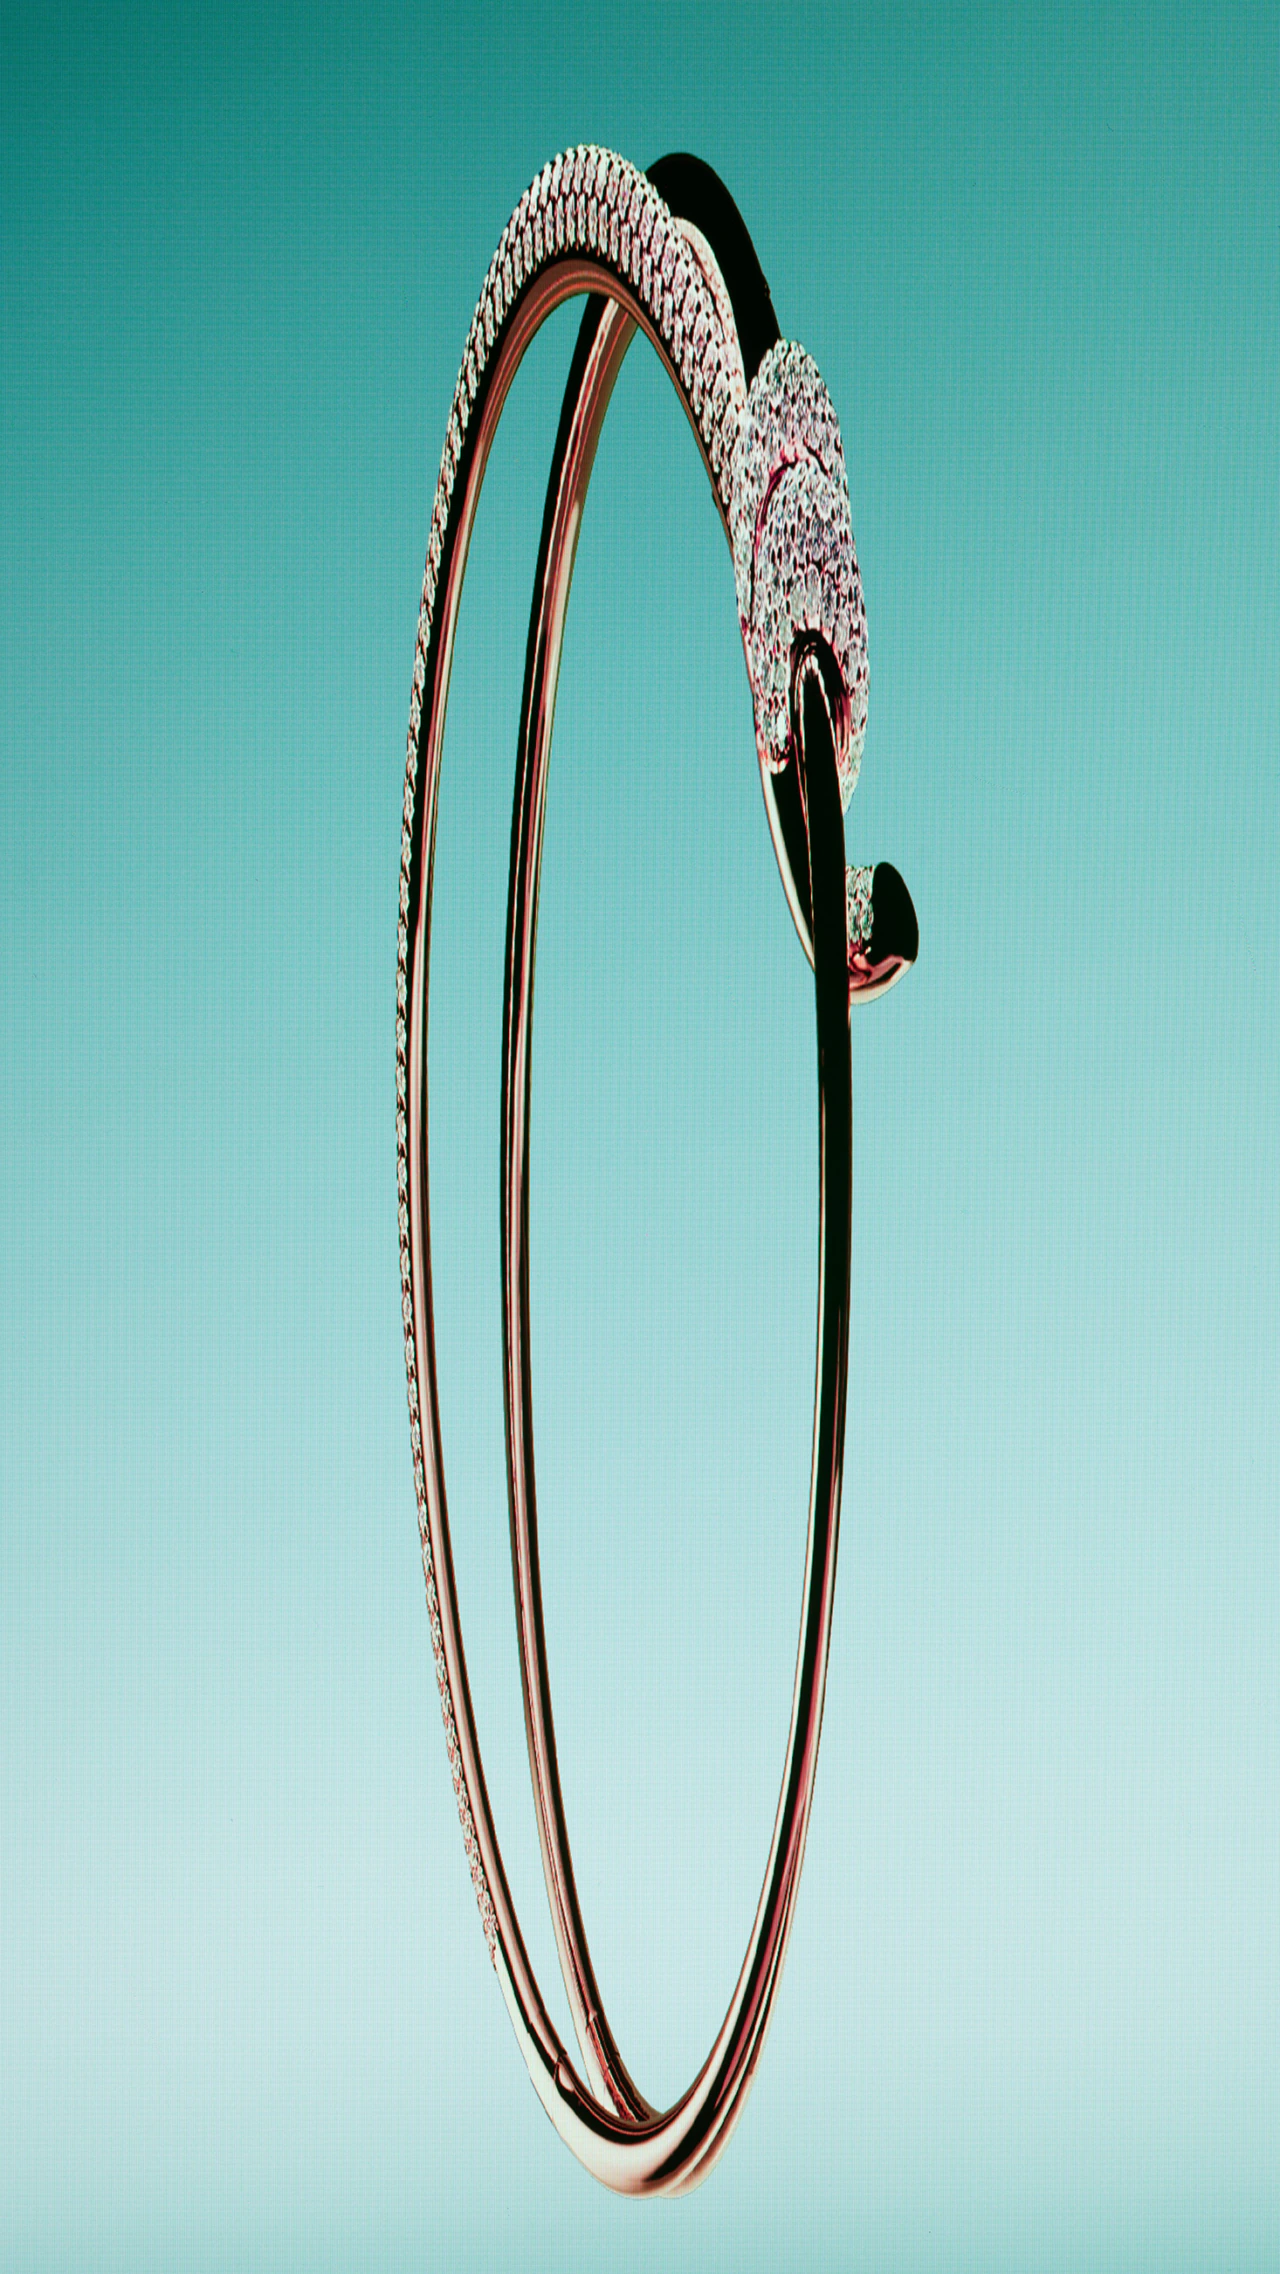
[09] Closer inspection revealed the distinct grain and structural detail of the screen pixels
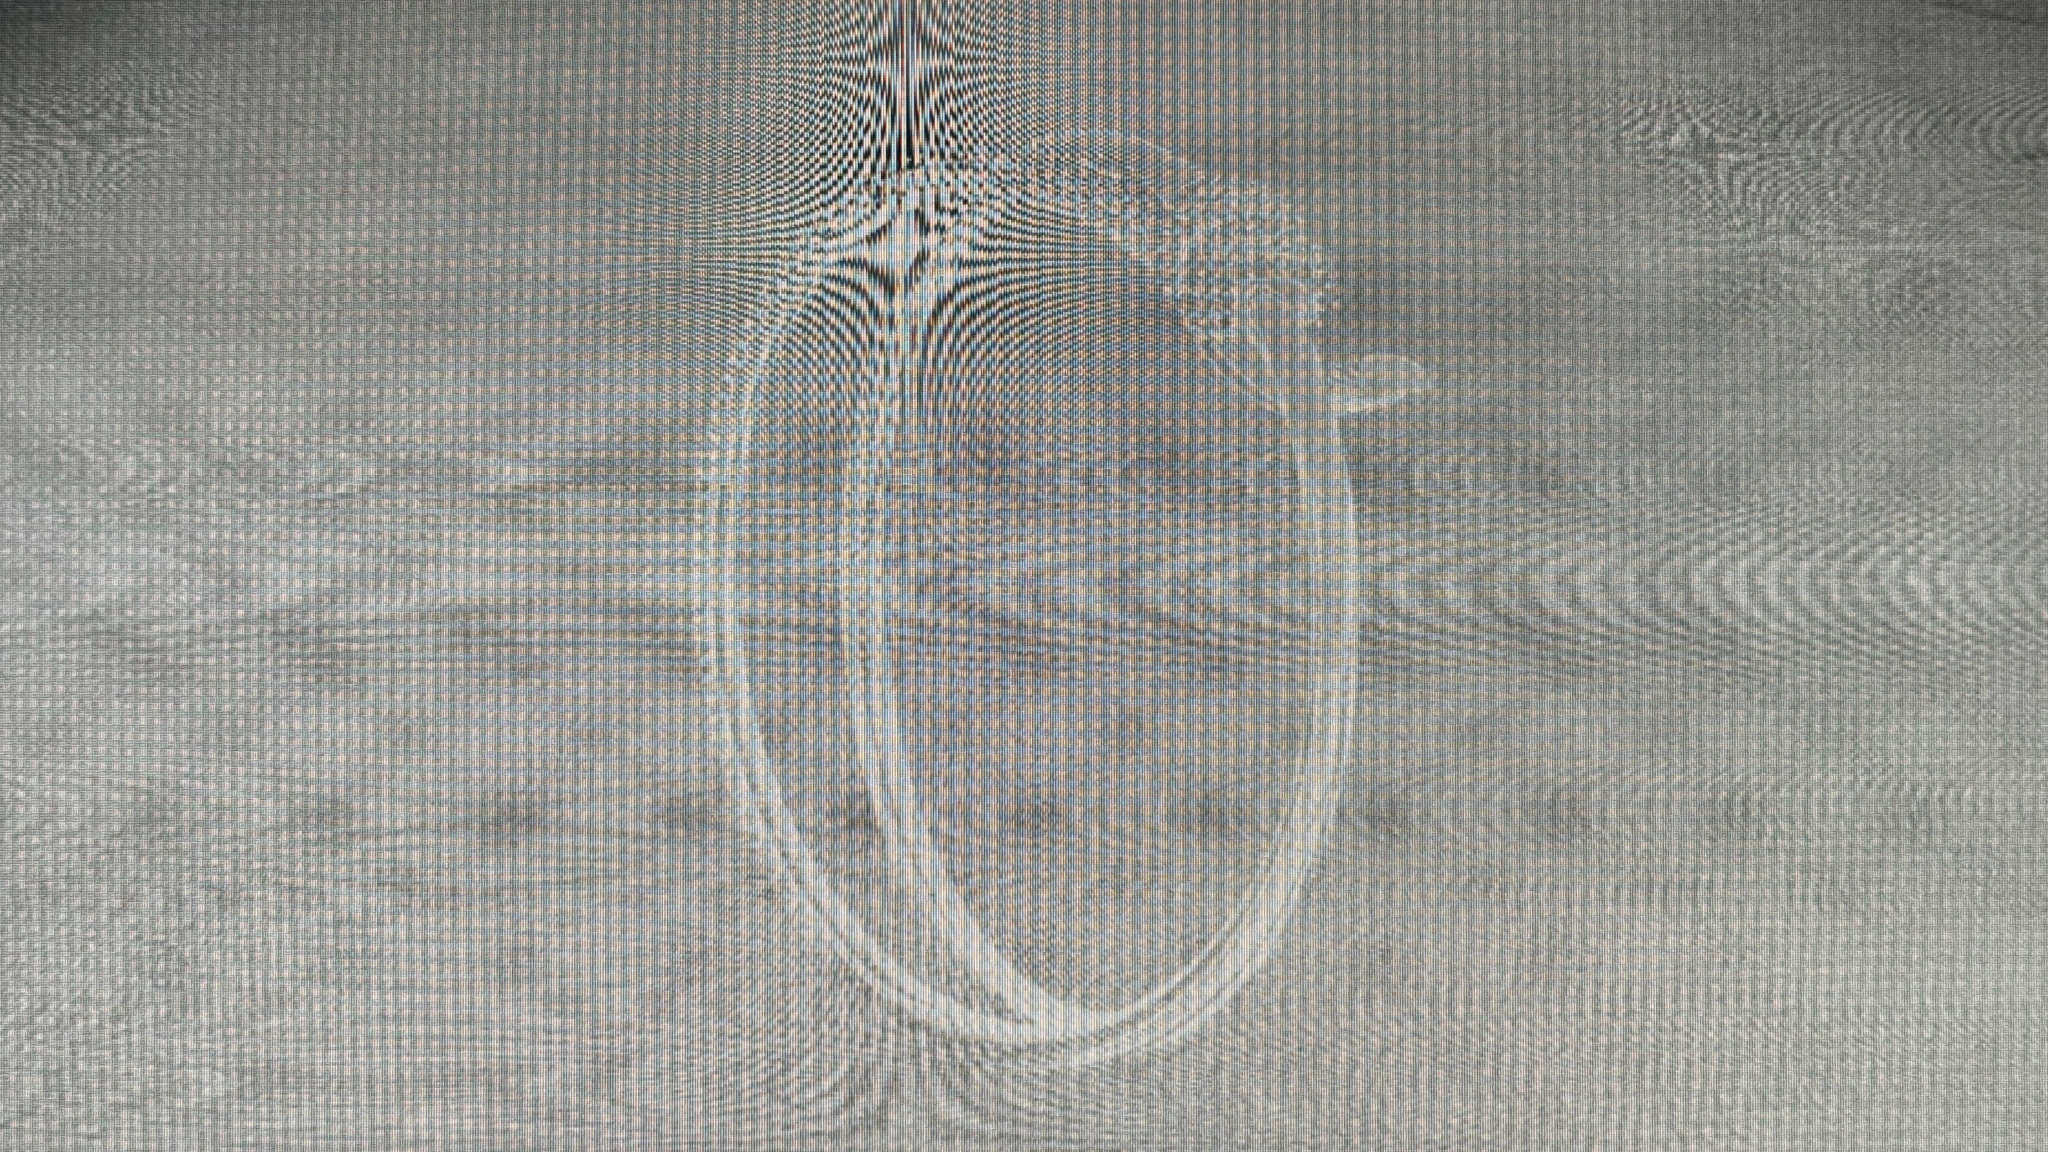
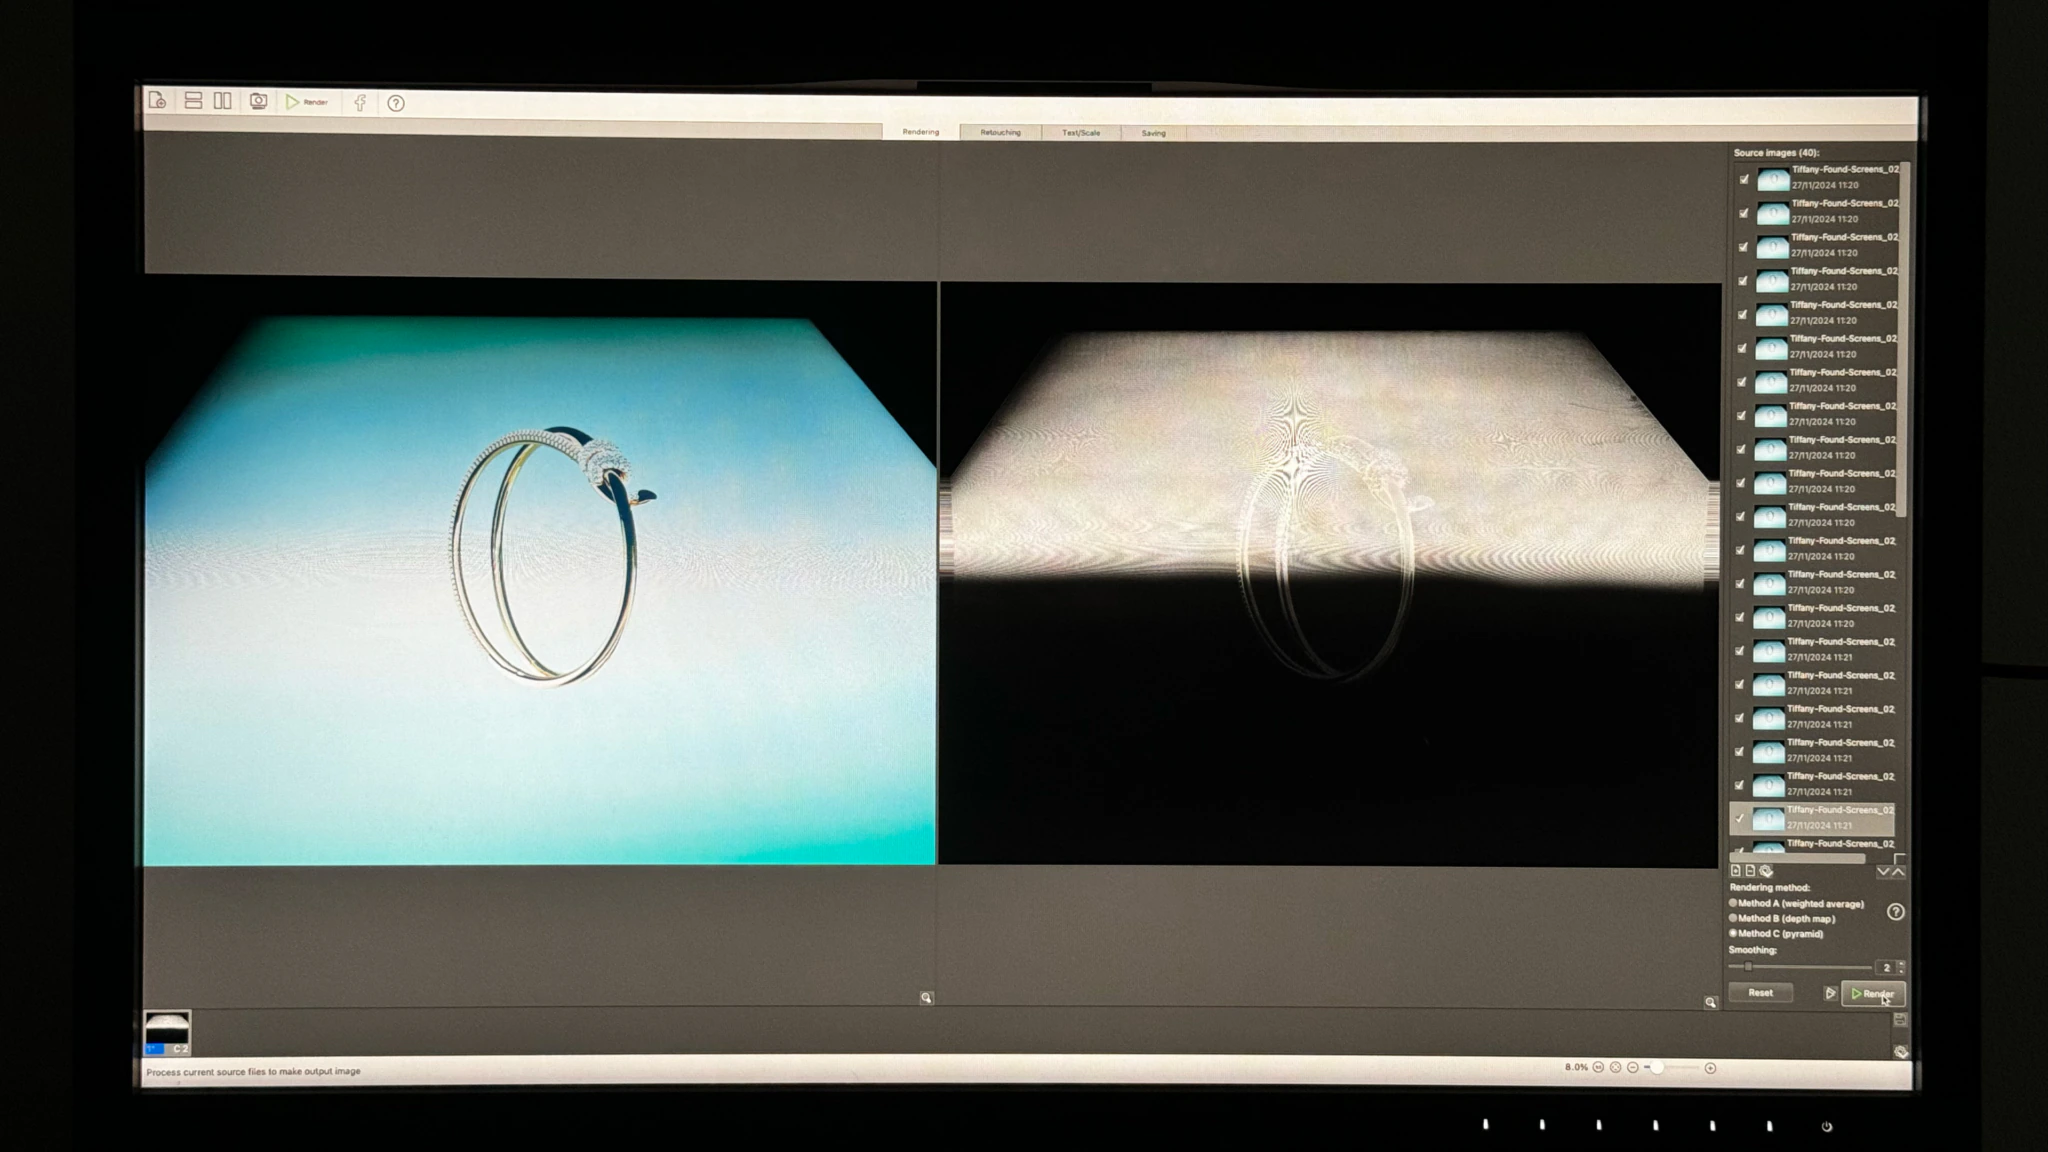
[10] Multiple exposures were used to achieve a constant focus across the screen and were ‘rendered’ to create the final image
The resulting imagery had the ethereal feel of a genuine physical object, grounded by the studio's practical lighting. We loved the tension between tangible reality and digital artefact - blurring the boundaries between photography and 3D.
[Fundamentals]
Aside from technical exploration, this project prompted us to reflect on how we define beauty in image-making and how our respective fields work to achieve it.